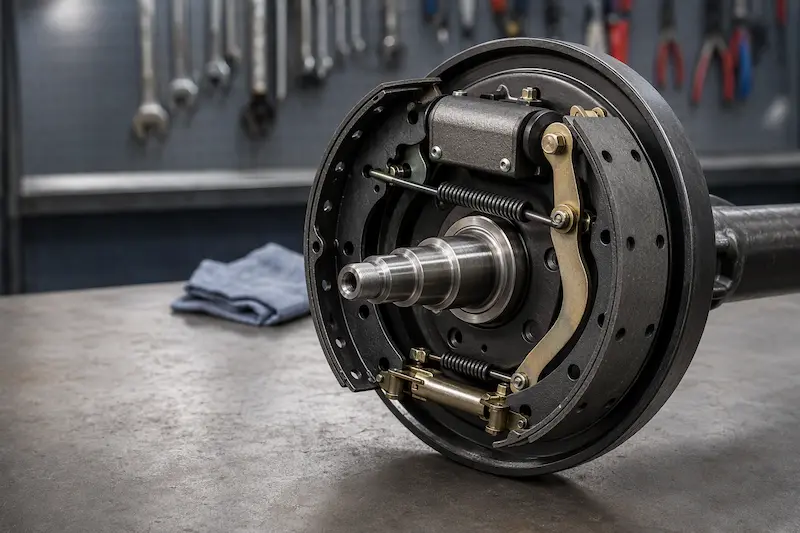
Electric trailer brakes rarely fail because of a bad part. They fail because of a decision a person made at the parts counter, at the wiring bench, or on the maintenance calendar. A magnet that quits at 20,000 miles instead of 60,000 usually points back to a setup error, and the driver never sees the cause, because the brake simply “wore out.”
At Weifang Top Trailer Accessories, we build electric brake assemblies, brake drums, axles, and machined parts for trailer makers across the United States, Canada, Australia, and New Zealand. As a result, the same seven mistakes reach our technical desk month after month. This guide explains each mistake, the symptom it produces, and the fix that restores full stopping power.
1. Setting the Wrong Magnet Air Gap
The magnet air gap is the running clearance between the brake magnet and the armature face on the drum. Set the gap too wide, and the magnet cannot pull the shoes onto the drum with enough force, so braking fades and the driver keeps raising controller gain. Set it too tight, and the magnet drags against the armature, which builds heat, glazes the lining, and wears the magnet out early.
Therefore, check the gap every time you install an electric brake assembly or fit a new drum. Our step-by-step guide to setting the magnet air gap shows the measurement and the adjustment in detail. Manual assemblies need this check at every service, while self-adjusting assemblies keep clearance in range on their own once they break in.
2. Skipping the Break-In Procedure
A new electric brake assembly does not brake at full strength on day one; the shoes and the drum still need to seat together. The lining needs to seat against the drum surface through a controlled burnishing process, where friction transfers a thin, even layer of material onto the drum face. Skip that step, and the lining glazes instead of bedding, so the brakes grab, squeal, or fade for the rest of their life. It is the most skipped step in trailer brake maintenance.
In addition, a missed break-in hides itself well. The trailer stops acceptably for a few hundred miles, then performance drops as the glazed surface hardens. Manufacturers recommend a series of moderate stops with cooling intervals between them. Above all, do not tow at full load during the first few hundred miles, because the extra heat locks in the damage.
3. Choosing the Wrong Brake Assembly Size for the Axle
Every brake assembly carries a size pair, and that pair must match the axle rating and the wheel size. A common lineup runs 10 in. × 2-1/4 in. on 3,500 lb axles, 12 in. × 2 in. on 6,000–7,000 lb axles, and 12-1/4 in. × 3-3/8 in. on heavy 8,000 lb axles. Fit an undersized assembly, and it overheats and fades under load; fit an oversized one, and low-speed control turns rough.
For example, a builder who replaces a 12 in. drum with a 10 in. assembly saves a little money and loses a lot of stopping power. Meanwhile, the overloaded shoes run hot on every descent. Confirm the size pair against the axle rating rather than against a photo, then order from a matched electric brake assembly range.
4. Undersized Wiring and Poor Grounding
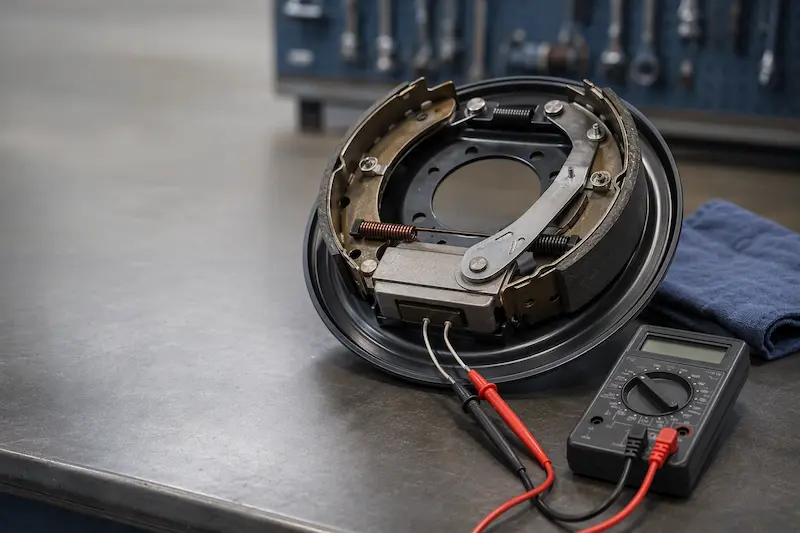
The controller sends current to the magnet, and every foot of undersized wire steals voltage before the current arrives. Each electric brake assembly draws roughly 3 amps at 12 volts, so a four-brake tandem axle pulls about 12 amps through the circuit. Thin wire turns that current into heat and voltage loss, and the brake magnets receive less force than the controller intends.
However, the driver rarely notices the loss directly. The brake feels weak, so the gain gets raised, and the magnets now run hot for the whole trip. A dedicated ground wire bolted to clean, bare frame metal prevents a second, sneakier loss; grounding through the hitch ball adds resistance that changes with every bump. The table below shows common practice for brake wiring.
| Brakes on the circuit | Current draw (approx.) | Minimum wire gauge |
|---|---|---|
| 2 brakes (single axle) | 6 A | 12 AWG |
| 4 brakes (tandem axle) | 12 A | 10 AWG |
| 6 brakes (triple axle) | 18 A | 8 AWG |
Typical minimum wire gauge for electric trailer brake circuits — confirm against your controller manual.
Consequently, good trailer brake maintenance starts at the circuit: measure voltage at the brake with the controller at full output. A reading well below battery voltage exposes the fault before the magnets fail. The etrailer brake installation guide walks through a clean install for reference.
5. Grease or Oil on the Friction Surfaces
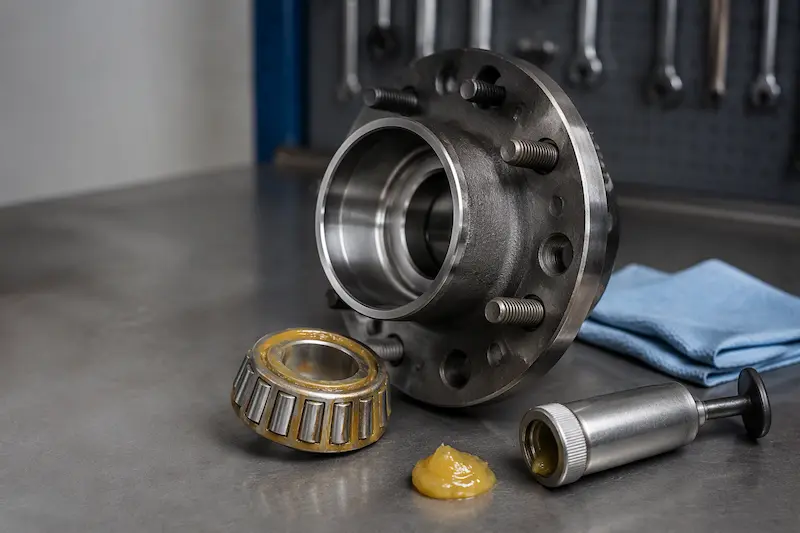
Grease belongs in the bearing, not on the shoe. Over-greasing a hub, especially through an EZ-lube fitting, pushes grease past the inner seal and onto the shoes and drum. A worn or incorrectly seated seal does the same thing slowly. Contaminated lining grabs, pulls to one side, and glazes, and no amount of adjustment fixes it.
Moreover, contamination often hides behind a tidy exterior. The seal leaks into the drum where nobody looks until the trailer pulls under braking. Clean every friction surface before assembly, set bearing preload correctly, and replace seals at every bearing service. If you see oil inside the drum, start with our guide to diagnosing and replacing trailer axle oil seals, then confirm the wheel-end cover with our comparison of dust caps vs. hub caps.
6. Running a Drum Past Its Wear Limit
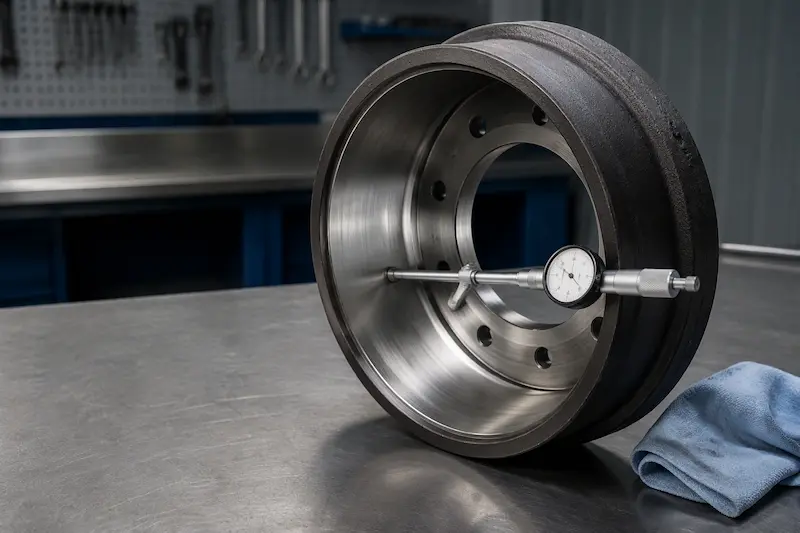
A drum carries a hard wear limit, and crossing it removes the heat capacity the brake needs. Dexter publishes clear thresholds: out-of-round beyond 0.015 in. calls for re-machining, and diameter wear beyond 0.090 in. calls for replacement. Heat cracks, a warped flange, or a damaged stud end the drum’s life no matter what the numbers say.
Finally, a worn drum and a new shoe never mate well. The oversized friction surface leaves the lining with partial contact, so the brake works harder and heats faster. Measure the drum before you reuse it, and replace drums as an axle pair. Our guide to brake drum sizing and wear limits gives the tools and the decision chain, and if the shoes look thin at the same time, review the worn brake shoe symptoms checklist before you order parts.
7. Waiting for Failure Instead of Inspecting
Electric trailer brakes announce their condition long before they quit, and a short inspection catches every one of these mistakes early. Plan a trailer brake maintenance check once a year or every 12,000 miles, and check a boat trailer every season because water attacks the wheel end. Add a brake magnet and air gap check, a wiring inspection, and a drum measurement to that visit.
Meanwhile, recheck the controller gain at the start of every towing season, because a new trailer load changes the setting that worked last year. Dexter’s trailer running gear service manual, published in a NHTSA technical bulletin, covers the service schedule and the safety warnings for the whole wheel end. A written schedule turns the seven mistakes above into seven routine checks.
Quick Reference: Symptom, Cause, and Fix
| # | Mistake | Symptom | Fix |
|---|---|---|---|
| 1 | Wrong magnet air gap | Weak brakes, or drag and heat | Re-set clearance at every service |
| 2 | Skipped break-in | Grabby, squealing, fading brakes | Burnish with moderate stops, no full load |
| 3 | Wrong assembly size | Fade under load, rough low-speed control | Match size pair to axle rating |
| 4 | Undersized wiring, poor ground | Weak at full gain, hot magnets | Upsize wire, ground to bare frame |
| 5 | Grease or oil on friction | Pulling, grabbing, glazed lining | Fix the seal, clean surfaces, set preload |
| 6 | Drum past wear limit | Long stops, heat, uneven contact | Measure, re-machine, or replace in pairs |
| 7 | No inspection schedule | Sudden failure at the worst time | Annual or 12,000-mile check |
FAQ: Electric Trailer Brake Problems
How often should I service electric trailer brakes? Inspect them once a year or every 12,000 miles, whichever comes first. Boat trailers that launch in water need a check every season, because saltwater attacks bearings, seals, and hardware far faster.
Why do my electric trailer brakes feel weak at full gain? Weak brakes at full gain usually point to three causes: an opened-up magnet air gap, voltage drop through undersized wiring or a poor ground, or shoes that glazed during a missed break-in. Check the gap first, then measure voltage at each brake with the controller at full output.
What causes a brake magnet to fail early? A magnet dies early when the gap runs too tight and the magnet drags on the armature, when a controller runs at high gain to fight voltage drop, or when heat from overloaded axles cooks the coil. Correct gap, clean wiring, and a correctly rated axle all protect the magnet.
How do I know if my brake shoes are glazed? Glazed shoes look shiny and glassy instead of dull, and they feel slick. The trailer stops poorly when cold yet grabs after repeated stops, and the drum face often shows a blued finish that confirms the diagnosis.
Can I mix self-adjusting and manual brake assemblies on one trailer? You should not. The two types settle at different clearances over time, so one side brakes harder and the trailer pulls under braking. Fit the same assembly on every braked wheel and treat the axle pair as one brake system.
Do I need to replace brake drums in pairs? Yes, for balanced braking. A new drum on one side and a worn, oversized drum on the other produce uneven force and uneven heat, so replace both sides of an axle together.
Conclusion: Seven Checks, One Reliable Brake System
Every mistake in this guide shares a common thread: it hides until the brake fails. A correct magnet air gap, a proper break-in, a matched assembly size, clean wiring, sealed friction surfaces, a drum inside its wear limit, and a written inspection schedule together remove the seven most common causes of premature failure, and good trailer brake maintenance keeps them gone.
At Weifang Top Trailer Accessories, we machine brake drums, build electric brake assemblies, and match complete wheel-end packages to each axle rating, including custom and OEM programs for trailer builders. Consequently, our team answers specification questions the same day. Browse our axle and brake parts range, review our OEM and ODM programs, or send us your brake specification for a quotation.