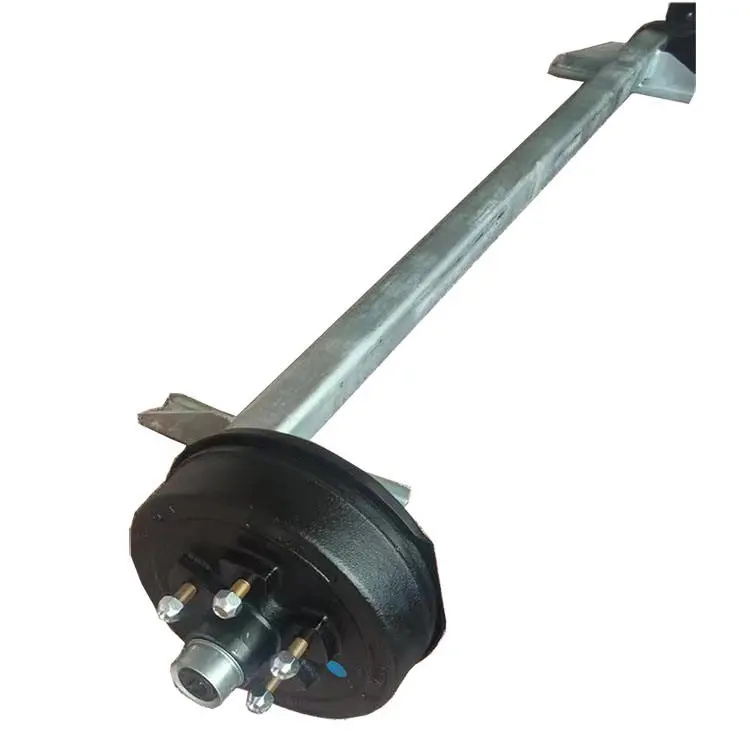
A brake drum gives you three numbers that decide whether the part fits, whether the brakes work, and whether the wheel bolts on. Order a drum with the right diameter but the wrong bolt circle, and you own a paperweight. Order one that measures past its wear limit, and you install a part that will never grip properly.
At Weifang Top Trailer Accessories, we machine drums and hubs for trailer axles and match them to specific axle ratings every day. Therefore, we walk customers through the same three measurements each time. This guide covers the tools, the technique, the wear limits, and the mistakes that cost time at the parts counter.
1. The Three Numbers That Define a Brake Drum
Diameter and width describe the braking surface, and the industry writes them as a pair — 10 in. x 2-1/4 in., 12 in. x 2 in., or 12-1/4 in. x 3-3/8 in. The first number is the nominal inside diameter of the drum, and the second is the width of the braking surface, which also matches the shoe lining width.
Bolt pattern describes the studs that carry the wheel. Manufacturers write it as two values: the number of studs and the diameter of the circle they form, such as “5 on 4-1/2”.
In addition, two secondary dimensions decide fit: the hub or centre bore at the middle of the drum, and the stud size and thread that accept your lug nuts. Skilled buyers confirm all five numbers before they order.
2. Tools for the Job
Gather these before you pull a wheel:
- A large vernier or dial caliper, or an inside micrometer sized for the drum
- A drum gauge or telescoping gauge set for deeper measurements
- A steel rule for width and for bolt-circle checks
- A bolt pattern template, or a printed paper template you place over the studs
- A wire brush, shop rags, and a flashlight
- Jack and rated jack stands, because you measure the drum off the trailer
Above all, work on a supported trailer. Dexter’s installation and service instructions warn that a trailer supported on a jack alone can fall and cause fatal injuries.
3. Step 1: Measure the Inside Diameter
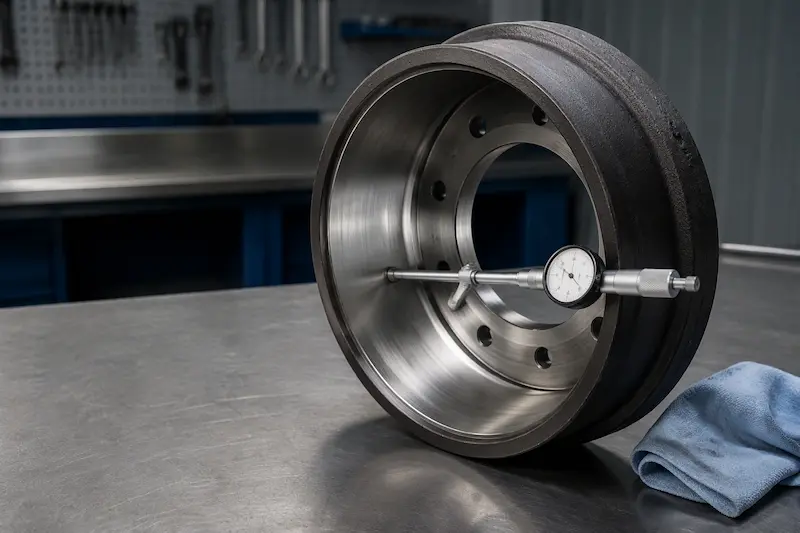
Clean the braking surface first, since rust scale and dust distort a reading. Next, measure the inside diameter where the shoes contact the drum, and take readings at several clock positions — 12 and 6 o’clock, then 3 and 9 o’clock.
Taking multiple readings serves one purpose: it exposes out-of-round. Record every value and keep the largest. For example, a drum that reads 10.008 in. across one axis and 10.006 in. across the other sits well inside spec, while a drum that swings from 10.004 in. to 10.020 in. is already out of round.
Nominal diameters for trailer drums run 7 in., 10 in., 12 in., and 12-1/4 in. Dexter also builds brake rotors for its 3.5K, 6K, 7K, and 8K axles, and those carry their own limits marked on the part.
The wear limits that decide re-machine versus replace
Dexter publishes clear thresholds, and every trailer shop applies them:
| Condition | Dexter’s limit | Action |
|---|---|---|
| Out-of-round | More than 0.015 in. | Re-machine the braking surface |
| Scoring or wear on the diameter | Greater than 0.090 in. | Replace the drum |
| Maximum re-bore, 7 in. drum | 7.090 in. | Do not exceed |
| Maximum re-bore, 10 in. drum | 10.090 in. | Do not exceed |
| Maximum re-bore, 12 in. drum | 12.090 in. | Do not exceed |
| Maximum re-bore, 12-1/4 in. drum | 12.340 in. | Do not exceed |
Consequently, a drum that measures beyond its maximum re-bore diameter has no future, even if it looks clean. Cut a 10 in. drum to 10.090 in. and the wall reaches its limit; cut it further and you weaken the part.
4. Step 2: Measure the Width
Turn the drum over and measure the width of the inner braking surface — the band the shoes ride against. Then measure your shoe lining width and compare. Both numbers must match.
Moreover, the width tells you which half of the size pair you need. Common trailer brake and drum sizes include:
| Size | Typical application |
|---|---|
| 7 in. x 1-1/4 in. | Light bolt-on and utility axles |
| 7 in. x 1-3/4 in. | Small hydraulic-brake axles |
| 10 in. x 2-1/4 in. | 3,500 lb axles |
| 12 in. x 2 in. | 6,000-7,000 lb axles |
| 12-1/4 in. x 2-1/2 in. | Heavy axles |
| 12-1/4 in. x 3-3/8 in. | 8,000 lb axles |
| 12-1/4 in. x 4 in. and 12-1/4 in. x 5 in. | Severe-duty applications |
Sizes run through the same families on both sides of the market, so measure rather than assume. Dexter’s self-adjusting brake line lists these size pairs: 10 in. x 2-1/4 in., 12 in. x 2 in., 12-1/4 in. x 2-1/2 in., 12-1/4 in. x 3-3/8 in., 12-1/4 in. x 4 in., and 12-1/4 in. x 5 in.
5. Step 3: Measure the Bolt Pattern
Bolt pattern measurement changes with the number of studs, and etrailer’s bolt pattern guide sets out the methods clearly in its measuring instructions.
Even counts (4, 6, and 8 studs) need one measurement: from the centre of one hole to the centre of the hole directly across. The ruler crosses the centre of the drum, so the reading equals the bolt circle diameter.
Odd counts (5 studs) need a workaround, because no hole sits directly opposite another:
- Centre to far edge. Measure from the centre of one hole to the far edge of one of the two furthest holes.
- Edge to centre. Measure from the edge of one hole, skip a hole, and finish at the centre of the next.
- Adjacent holes. Measure centre-to-centre between neighbouring holes, then compare the result with a reference table.
That third method gives a fast answer, and RecStuff’s measurement guide publishes the same conversion values:
| Distance between adjacent holes | Bolt pattern |
|---|---|
| 2-5/8 in. | 5 on 4-1/2 |
| 2-3/4 in. | 5 on 4-3/4 |
| 3 in. | 5 on 5 |
| 3-1/4 in. | 5 on 5-1/2 |
Common trailer patterns include 4 on 4, 5 on 4-1/2, 5 on 4-3/4, 5 on 5, 5 on 5-1/2, 6 on 5-1/2, 8 on 6-1/2, and 8 on 275 mm. Meanwhile, confirm the centre bore at the same time, since a wheel with the correct bolt pattern can still miss on bore diameter.
If you prefer a step-by-step walkthrough with photographs, our guide to measuring a 5-lug trailer bolt pattern covers the odd-count methods in detail.
6. Inspect the Armature Surface on Electric Brakes
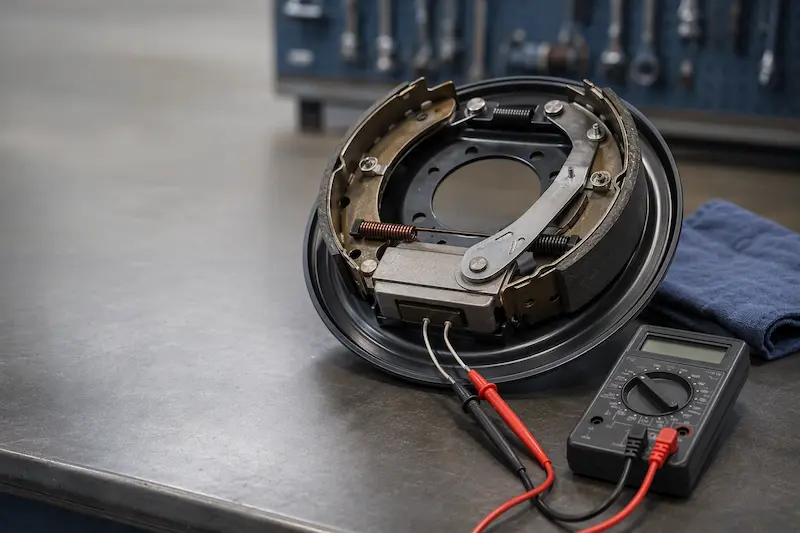
Electric drums carry a second wear surface that hydraulic drums do not: the armature surface where the magnet rides. Dexter treats this as a machined surface with its own rules.
If the armature surface shows scoring or uneven wear, reface it to a 120 micro-inch finish while removing no more than 0.030 in. of material. In addition, keep two replacement rules linked: replace the magnets whenever you reface the armature, and reface the armature whenever you replace the magnets. Matching the two surfaces protects brake force.
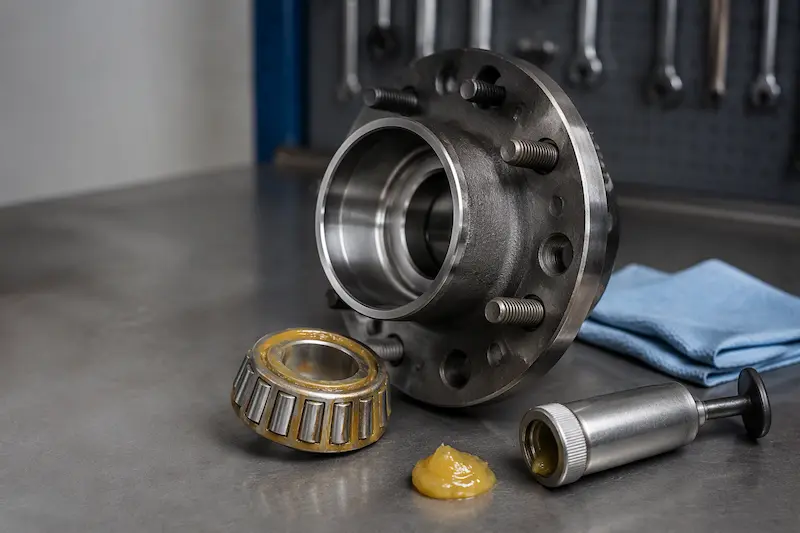
Finally, protect the wheel bearing bores while you machine. Metal chips from drum turning or armature refacing contaminate bearing cavities and cause premature bearing failure, so wash and inspect those bores before you refit bearings and seals.
7. When the Measurements Say “Replace”
Feed your numbers into a short decision chain:
- Out-of-round beyond 0.015 in. — re-machine, provided the drum stays under its maximum re-bore diameter.
- Scoring or wear beyond 0.090 in. on the diameter — replace the drum.
- Any measurement past the re-bore limit — replace the drum.
- Heat cracks, a warped flange, or a damaged stud — replace the drum.
- Any sign of cracks in the drum or the hub casting — replace the drum.
As a result, most high-mileage trailers reach replacement rather than a third machining pass. Replace drums in axle pairs as well, because a new drum on one side and a worn drum on the other produce uneven braking. Our article on signs a brake drum needs replacement covers the symptoms that point to the same conclusion, and if the shoes look thin at the same time, review the worn brake shoe symptoms checklist before you order parts.
8. Matching a New Drum to Your Axle
Three checks confirm a replacement drum:
- Size pair. A 10 in. x 2-1/4 in. drum belongs on a 3,500 lb class axle, while a 12 in. x 2 in. drum suits 6,000-7,000 lb axles. Confirm the pairing against your axle rating rather than against a photo.
- Bolt pattern and centre bore. Measure both, especially when a previous owner swapped wheels.
- Bearing and seal fit. The drum carries the bearing cups, so its bore dimensions must accept the correct cone and cup set. Dexter insists on replacing bearings as matched cone-and-cup sets, and our axle parts guide explains how those parts stack inside the hub.
Moreover, verify the axle rating itself if the tag has faded. Our guide to reading an axle tag or measuring tube diameter helps you confirm capacity before you buy.
FAQ: Brake Drum Measurement
Q: How do I know what size my brake drum is? A: Measure the inside diameter of the braking surface and the width of that same surface, then write the result as a pair such as 10 in. x 2-1/4 in. Confirm the bolt pattern and centre bore at the same time.
Q: Can I measure a brake drum without removing the wheel? A: Not accurately. Remove the wheel and the drum, then measure the braking surface directly with a caliper or micrometer. Trained shops sometimes estimate wear through the adjustment slot, yet a direct measurement remains the reliable method.
Q: What does 10.090 in. mean on a brake drum? A: It marks the maximum re-bore diameter for a 10 in. drum. A shop may machine the surface up to that figure, and any drum that measures beyond it needs replacement.
Q: How much out-of-round is acceptable? A: Dexter allows up to 0.015 in. of out-of-round before the drum needs re-machining. Beyond that figure, the shoes cannot maintain even contact, which causes pulsation and uneven lining wear.
Q: Do I need to replace both drums at the same time? A: Yes, for best results. Replacing drums as an axle pair keeps braking balanced, and it prevents one side from doing more work than the other.
Q: Why does bolt pattern matter if the drum diameter fits? A: The bolt pattern positions the wheel, so a mismatch means the wheel will not mount. Even a drum with identical diameter and width will not work if its stud circle differs.
Conclusion: Measure Twice, Order Once
Brake drum sizing comes down to disciplined measurement. Read the inside diameter at several positions, measure the braking surface width, work out the bolt circle, and compare every number against the published wear limits. As a result, you order the right drum the first time and you know exactly when a drum has earned retirement.
At Top Axles, we machine brake drums, hubs, and rotors to OEM tolerances and match complete wheel-end packages to each axle rating, including custom bolt patterns for specialized builds. Browse our axle and brake parts range, review our OEM and ODM programs, or send us your measurements for a same-day drum recommendation.