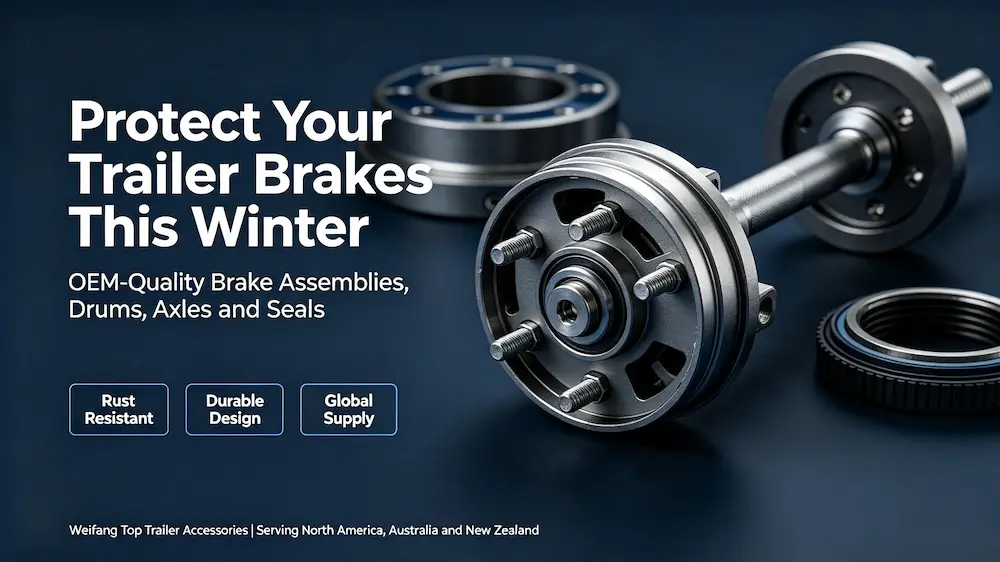
Every fall, thousands of trailer owners park their rigs for the winter and assume the brakes will work fine come spring. Unfortunately, that assumption costs them. According to the North American Trailer Dealers Association, trailers receiving seasonal maintenance last an average of 30% longer than those that do not. Nowhere does this principle hit harder than in the brake system — the component your safety depends on most directly.
Freezing temperatures, road salt, and trapped moisture combine to attack your trailer’s brake assemblies, drums, and moving parts. Within a single winter of neglect, brake shoes can fuse to drums, electromagnets can corrode beyond repair, and pivot points can seize solid. When spring arrives, you face a repair bill instead of a road trip.
At Weifang Top Trailer Accessories, we manufacture the electric brake assemblies, brake drums, axles, and seals that thousands of trailers rely on across North America, Australia, and New Zealand. We know exactly how winter damages these components — and, more importantly, how to prevent that damage. This guide walks you through a complete winter brake system preservation routine, step by step.
What Winter Actually Does to Your Trailer Brakes
Before you start the storage process, take a moment to understand what you are fighting. Winter attacks trailer brakes through four distinct mechanisms, and each one requires a specific countermeasure.
1. Moisture Intrusion
Snow melts. Rain falls. Condensation forms as temperatures swing between night and day. Water finds its way into brake drum cavities, between brake shoe linings and drum surfaces, and into electrical connectors. Once trapped inside, moisture sits against metal surfaces for months. The result: rust blooms on drum friction surfaces, pitting on machined components, and oxidation inside wiring plugs.
2. Road Salt and Chemical Deicers
If you tow your trailer even once on winter roads, salt spray coats every exposed surface under the trailer. Magnesium chloride and calcium chloride — common road deicers — are far more corrosive than plain sodium chloride (table salt). They cling to brake backing plates, drum exteriors, and mounting hardware. Left uncleaned through storage, salt residue eats through protective coatings and pits the base metal beneath.
3. Freeze-Thaw Cycling
Water expands by roughly 9% when it freezes. When moisture seeps into tiny gaps — between a brake shoe and a drum, inside a wheel cylinder seal, or within an electrical connector — the freeze-thaw cycle exerts hydraulic pressure that widens cracks, loosens seals, and pushes components apart. Repeated cycles during a long winter accelerate wear dramatically.
4. Condensation Inside Sealed Components
Even brake assemblies that look clean and dry on the outside face an invisible threat: internal condensation. As outdoor temperatures fluctuate, the air inside brake drums and bearing cavities expands and contracts, pulling moist air in through breather vents and seals. That moisture condenses on cold metal surfaces overnight and remains trapped for months. By spring, you find rust inside components that never saw a drop of external water.
The bottom line: Winter storage without proper preparation does not just pause your brake system’s condition — it actively degrades it. A few hours of work in the fall prevents hundreds of dollars in spring repairs.
Pre-Storage Brake System Inspection Checklist
Before you clean and protect anything, complete a thorough inspection. Documenting existing issues now helps you plan spring repairs and prevents you from blaming storage for pre-existing damage.
Run through this checklist with a flashlight and a notepad:
| Inspection Point | What to Look For | Action If Found |
|---|---|---|
| Brake drum exterior | Rust blooms, pitting, or flaking paint | Wire-brush rust, apply rust converter |
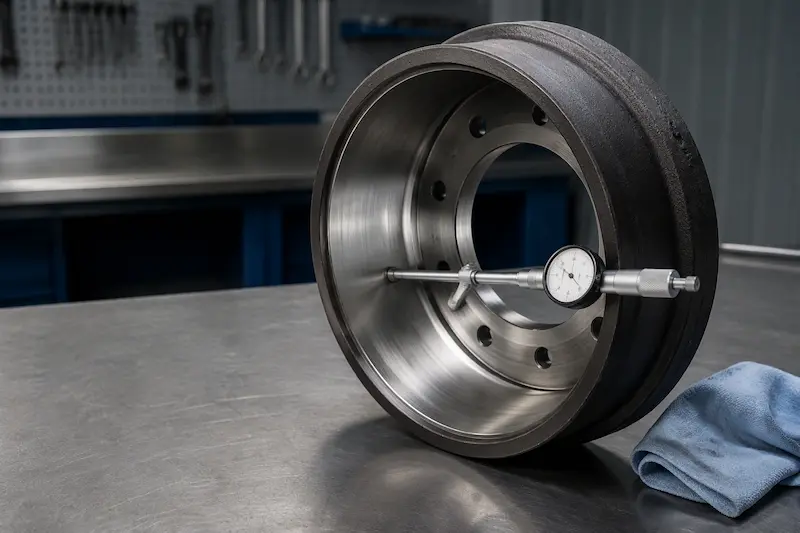
| Brake drum interior (remove drum) | Scoring, glazing, or rust on friction surface | Light rust: sand with emery cloth. Deep scoring: replace drum |
| Brake shoes / pads | Uneven wear, cracking, glazing, contamination | Replace if lining is below 1/16 inch or shows contamination |
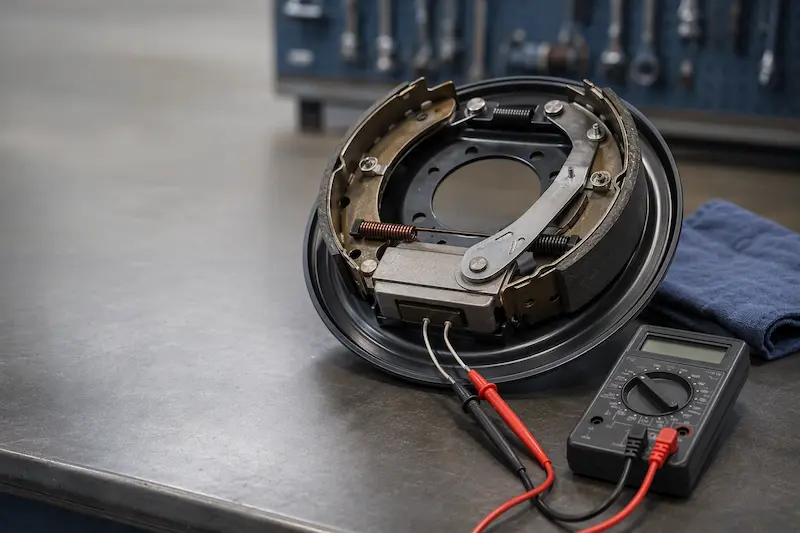
| Electromagnet surface | Pitting, uneven wear, loose wiring | Replace if pitted or worn unevenly |
| Backing plate | Rust, bent edges, loose anchor pins | Clean rust, straighten or replace if bent |
| Pivot points & levers | Stiffness, rust, dry grease | Clean and lubricate (covered in steps below) |
| Wiring & connectors | Cracked insulation, corrosion on pins, loose plugs | Replace damaged wires; clean and grease connectors |
| Oil seals | Grease leakage, cracks, deformation | Replace any leaking or cracked seal |
| Dust cups / boots | Tears, dry rot, missing clamps | Replace damaged boots immediately |
| Brake controller | Error codes, inconsistent operation | Test before storage; note any issues |
Once you complete the inspection, you know exactly what needs attention. Now move on to the storage preparation process.
Step-by-Step Winter Brake System Storage Process
Step 1: Elevate the Trailer and Remove the Wheels
Park the trailer on a level, paved surface — never on dirt or grass, because ground moisture rises and accelerates undercarriage rust. Use a quality trailer jack to lift each axle safely, then place jack stands under the frame rails. Remove all wheels and set them aside in a dry location.
Raising the trailer serves three purposes for your brake system:
- It takes weight off the suspension and bearings.
- It provides unobstructed access to all brake components.
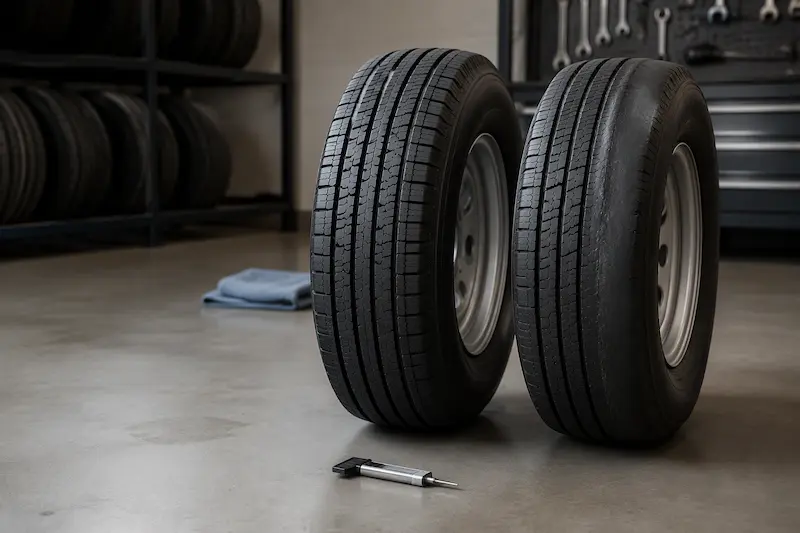
- It prevents flat spots on tires, which would otherwise affect brake performance through vibration.
Step 2: Deep Clean Every Brake Component
Dirt, grease, brake dust, and road salt all trap moisture against metal. Start cleaning:
- Use a stiff nylon brush (never steel wire on friction surfaces) to remove loose dirt and brake dust from the backing plate, brake shoes, and drum exterior.
- Spray brake cleaner liberally onto the brake assembly. Choose a non-chlorinated, residue-free formula. Spray into every crevice — around the magnet, behind the shoes, inside the adjuster mechanism.
- Let the cleaner drip dry completely. Do not wipe it off — brake cleaner evaporates and carries contaminants with it. Place a drip pan underneath to catch the runoff.
- Clean the brake drum interior. Spray brake cleaner inside the drum and wipe with a clean, lint-free cloth. Even a film of oil or grease on the friction surface ruins braking performance.
- Wash the drum exterior with soapy water, then dry it thoroughly. Pay attention to cooling fins and mounting surfaces where salt tends to collect.
Important: Never use compressed air to blow brake dust off your components. Brake dust may contain materials you do not want to inhale. Use brake cleaner spray and let gravity and evaporation do the work.
Step 3: Dry Everything Completely
This step matters more than most owners realize. Any moisture left on metal surfaces causes rust during storage. After cleaning:
- Wipe all accessible metal surfaces with clean, dry microfiber cloths.
- Use a heat gun on low setting or a hair dryer to warm components and evaporate residual moisture from crevices. Focus on spring pockets, adjuster threads, and the gap between the magnet and armature plate.
- If weather permits, let the trailer sit in direct sunlight for an hour — the sun reaches places your cloth cannot.
- For enclosed storage, run a dehumidifier or place moisture-absorbing desiccant packs near the brake assemblies.
Step 4: Apply Rust Inhibitor to Metal Surfaces
Now coat every bare metal surface with a quality rust inhibitor. Different surfaces require different products:
| Surface / Component | Recommended Product Type | Application Method |
|---|---|---|
| Brake drum exterior | Wax-based undercoating spray | Spray evenly, 2 light coats |
| Backing plate (exterior) | Lanolin-based rust inhibitor (e.g., Fluid Film) | Spray or brush on, cover all exposed metal |
| Mounting hardware (bolts, nuts, brackets) | Light oil or corrosion inhibitor spray | Spray lightly, wipe excess |
| Brake drum friction surface (interior) | Do NOT coat — leave bare and clean | Wipe with a dry cloth only; any coating contaminates friction material |
| Brake shoe friction material | Do NOT coat — leave bare and clean | Do not apply any product to the lining surface |
| Spring and adjuster hardware | Dry-film lubricant or light penetrating oil | Spray lightly, avoid runoff onto friction surfaces |
Critical rule: Never apply rust inhibitor, oil, grease, or any coating to brake friction surfaces — the drum interior contact area and the brake shoe/pad lining. These surfaces must stay completely clean and dry. Contaminating them ruins braking performance and requires component replacement.
Step 5: Lubricate All Moving Parts
Cold temperatures thicken grease and cause moving brake components to seize. Proper lubrication before storage keeps everything free:
- Anchor pin and pivot points: Apply a small dab of high-temperature brake grease to each pivot point. Work the lever through its full range of motion to distribute the grease.
- Adjuster mechanism threads: Clean the adjuster threads with brake cleaner first, then apply a thin film of anti-seize compound or brake grease. Turn the adjuster through several rotations to coat the threads.
- Magnet lever arm: Apply one drop of light oil to the magnet lever pivot. Do not over-lubricate — excess oil attracts dirt and can migrate to friction surfaces.
- Actuator slide surfaces: If your brake assembly uses a sliding actuator mechanism, apply dry-film lubricant to the slide surfaces. Wet grease in this area collects brake dust and gums up.
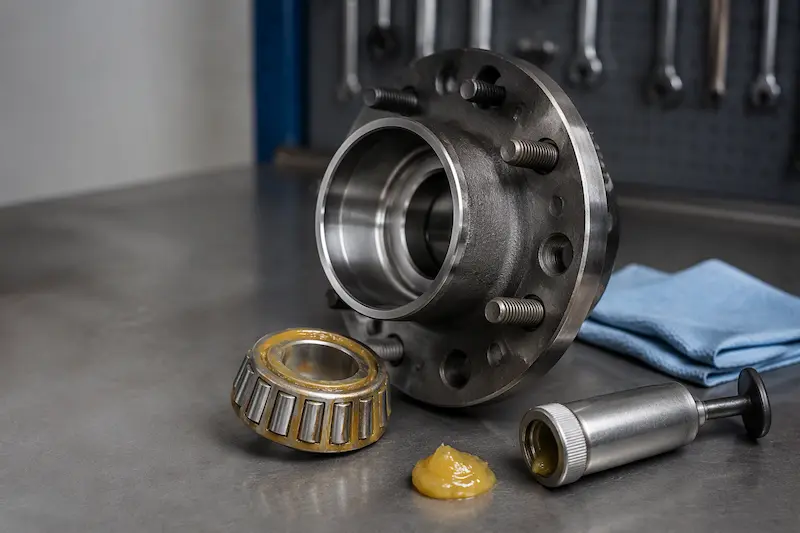
For axle parts and suspension pivot points adjacent to the brake system, apply marine-grade grease rated for cold-temperature use. Standard chassis grease thickens in sub-freezing conditions and loses effectiveness.
Step 6: Protect Electrical Connections
Electric brake systems depend on clean, dry electrical connections. Winter moisture and corrosion can create resistance at every plug and terminal, which reduces braking power or causes complete failure:
- Disconnect the trailer from the tow vehicle. Never leave the 7-way connector plugged in during storage.
- Inspect the 7-way plug pins for green or white corrosion. Clean corroded pins with electrical contact cleaner and a small wire brush.
- Fill all connector cavities with dielectric grease. This grease seals out moisture while allowing electrical contact to continue. Apply it to the trailer-side plug, any inline connectors along the wiring harness, and the terminals at each brake assembly.
- Check wire routing. Secure any loose wires with zip ties so they do not hang where snow or ice can pull on them. Ensure wires clear moving suspension components.
- If your trailer has a breakaway battery, disconnect it and store the battery indoors where temperatures stay above freezing. A discharged breakaway battery that freezes can crack internally and fail when you need it most.
As we discussed in our guide to brake controller setup, clean electrical connections matter just as much inside the cab as underneath the trailer.
Step 7: Reinstall Drums, Cover, and Store Properly
After completing all of the above steps:
- Reinstall the brake drums and adjust the brakes to a light drag. This setting prevents the shoes from fully retracting, which in turn prevents the adjuster from backing off over months of inactivity.
- Do NOT set the parking brake. Parking brakes left engaged for months can fuse the shoes to the drums through corrosion. Use wheel chocks instead.
- Cover the trailer with a breathable, waterproof cover. Avoid plastic tarps that trap condensation underneath — a breathable fabric cover allows moisture to escape while blocking rain and snow.
- Store the trailer under cover if possible. A carport, garage, or dedicated storage facility eliminates direct exposure to snow, ice, and UV radiation. If you must store outdoors, park on concrete or gravel (not dirt), and angle the trailer slightly so water drains away from the brake assemblies.
- For boat trailers stored near saltwater environments, our comparison of hydraulic vs. electric brakes for boat trailers offers additional corrosion-fighting strategies that complement this winter routine.
Special Considerations by Brake Type
Electric Drum Brakes (Most Common)
Electric drum brakes require all of the steps above. Pay extra attention to:
- The electromagnet surface — even light rust on the armature plate face reduces braking force.
- Wiring connections at each wheel — these connectors sit low and collect road spray.
- The breakaway battery and switch — test the switch function before storage and disconnect the battery.
Electric-Over-Hydraulic (EOH) Disc Brakes
EOH systems add hydraulic components that need winter-specific care:
- Flush and replace brake fluid if it is more than two years old. Brake fluid absorbs moisture over time, and water in the fluid lowers the boiling point while promoting internal corrosion in calipers and lines.
- Inspect stainless steel braided lines for chafing or corrosion at the fittings.
- Exercise the caliper pistons by compressing them slightly with a brake pad spreader, then pumping them back out. This moves fresh fluid through the caliper and prevents piston seizure.
- Protect the actuator pump unit from freeze damage by storing it in a drained, dry state or ensuring the fluid reservoir is full to minimize air space where condensation forms.
Surge / Hydraulic Drum Brakes
Common on boat trailers, surge brake systems need:
- A brake fluid flush if the fluid appears dark or cloudy.
- Wheel cylinder inspection — leaking wheel cylinders contaminate brake shoes and must be replaced immediately.
- Master cylinder reservoir filled to the maximum line to minimize air volume.
- Shock absorber (damper) inspection on the coupler — a worn damper allows the coupler to slam during towing.
Common Winter Storage Mistakes That Destroy Brake Systems
| Mistake | Consequence | Prevention |
|---|---|---|
| Setting the parking brake for storage | Brake shoes fuse to drums; you cannot move the trailer in spring | Use wheel chocks, leave parking brake disengaged |
| Skipping the wash before storage | Road salt sits on metal for months, pitting components | Clean thoroughly, inside and out |
| Applying grease or oil to drum friction surfaces | Contaminated brakes provide zero stopping power | Keep all lubricants away from friction surfaces |
| Leaving the 7-way connector plugged in | Slow battery drain, corrosion at pins, breakaway system back-feed | Disconnect and grease all plugs |
| Storing on grass or dirt | Ground moisture rises and rusts undercarriage | Park on concrete, asphalt, or gravel |
| Using a non-breathable plastic tarp | Condensation traps inside, accelerating rust | Use a breathable fabric cover |
| Ignoring small rust spots before storage | Rust spreads under paint and through winter moisture | Wire-brush and treat all rust before putting the trailer away |
| Forgetting to lubricate pivot points | Seized levers and adjusters require component replacement | Lubricate every moving part before storage |
| Not documenting pre-storage condition | You cannot tell what damage winter caused vs. what was already there | Photograph and note all issues during inspection |
Spring Wake-Up Procedure for Trailer Brakes
When warm weather returns, do not simply hook up and drive away. Your brake system needs a deliberate wake-up routine:
- Remove the cover and inspect the undercarriage for any signs of moisture intrusion, animal nesting, or rust development over the winter.
- Reinstall the wheels (if removed) and torque lug nuts to specification in a star pattern.
- Reconnect and charge the breakaway battery if you removed it. Test the breakaway switch by pulling the pin — you should hear the brakes engage. Important: As we noted in our brake troubleshooting guide, always disconnect the 7-way before testing the breakaway system to avoid frying the brake controller.
- Plug in the 7-way connector and test all brake lights and turn signals.
- Pull forward slowly (5 mph) and apply the manual override on your brake controller. The trailer brakes should engage smoothly and release cleanly. Listen for grinding, scraping, or squealing.
- Perform a 25-mph gain adjustment as described in our brake controller setup guide. Winter storage may have shifted your gain requirements slightly.
- Check axle alignment if you noticed uneven tire wear before storage. A misaligned axle causes brake pull to one side, which becomes dangerous at highway speeds.
When to Replace vs. When to Restore
After inspection, you may find components that sit in the gray zone between usable and shot. Here is a quick decision guide:
| Component | Restore If… | Replace If… |
|---|---|---|
| Brake drum | Light surface rust on friction area (sand off) | Deep scoring, cracks, or rust pitting deeper than 0.060 inch |
| Brake shoes | Even wear above 1/16 inch lining, no contamination | Glazed, cracked, contaminated, or lining below 1/16 inch |
| Electromagnet | Smooth face, even wear, solid wiring | Pitted face, uneven wear pattern, or exposed internal wiring |
| Backing plate | Surface rust treatable with converter and paint | Rust-through, bent mounting ears, or elongated anchor holes |
| Oil seal | Dry exterior, no visible leakage | Any grease leakage, cracked lip, or deformation |
| Wiring harness | Clean connectors, no cracks in insulation | Corroded pins, cracked insulation, or voltage drop at connectors |
If your inspection reveals multiple components that need replacement, our brake assemblies offer a complete OEM-quality solution. Replacing the entire assembly often saves labor time compared to replacing individual worn parts one by one.
Frequently Asked Questions (FAQ)
How long does winter brake system preparation take?
For a single-axle trailer, budget about two to three hours. A tandem-axle trailer requires roughly four to five hours. The first time you do it takes longer because you learn where everything sits. Each subsequent year moves faster.
Can I skip winter storage prep if I use my trailer occasionally during winter?
No. In fact, winter use demands even more attention. Road salt and moisture attack your brakes every time you tow, and the freeze-thaw cycles between trips accelerate corrosion. After each winter trip, rinse the undercarriage and brake components with fresh water. Perform the full storage routine when the towing season truly ends.
Do I need different rust inhibitors for different climates?
Yes. In dry, cold climates (inland North America), a wax-based undercoating works well for seasonal protection. In coastal or high-humidity regions (Pacific Northwest, Australian coast, New Zealand), use a lanolin-based product like Fluid Film, which creeps into seams and self-heals. For trailers that see regular saltwater exposure, refer to our boat trailer brake comparison for environment-specific recommendations.
What happens if I accidentally get rust inhibitor on the brake friction surface?
Stop immediately. Wipe off as much as possible with a clean cloth, then spray the affected area thoroughly with brake cleaner. Let it dry, then lightly sand the surface with 120-grit emery cloth to remove any residue that soaked in. If you contaminated a brake shoe, replace it — brake lining material absorbs oil and grease permanently, and no amount of cleaning restores the friction coefficient.
Should I remove the brake drums entirely for storage?
You can, but it is not necessary if you complete the cleaning and rust-inhibitor steps correctly. Removing the drums does eliminate the risk of shoe-to-drum rust bonding, which makes it a good option for trailers stored outdoors in extremely wet climates. If you remove the drums, bag them in a dry location and label each drum with its axle position (left/right, front/rear) to ensure correct reinstallation.
How do I know if my brake shoes have fused to the drums over winter?
When you attempt to move the trailer in spring, the wheels will drag or lock completely. If you remove the wheel and drum, you will see rust bridging the shoe lining to the drum surface, often with lining material torn away. Prevention (no parking brake, proper rust inhibitor, breathable cover) is far easier than the cure (replacing shoes and resurfacing or replacing drums).
Do I need to winterize surge brake systems differently from electric brakes?
Yes. Surge brakes contain hydraulic fluid that absorbs moisture over time. Before storage, flush old fluid and fill the reservoir to the maximum line. Inspect wheel cylinders for leakage. Test the coupler’s sliding mechanism and lubricate it. The remaining steps (cleaning, rust inhibitor, electrical protection for lights) apply to both systems.
Protect Your Investment This Winter
Your trailer’s brake system does not rest during winter storage — moisture, salt, and temperature swings continue their work on unprotected metal and electrical components. A few hours of preparation in the fall pays off with reliable braking performance, longer component life, and the confidence that your trailer stops when you need it to.
If your pre-storage inspection reveals worn brake assemblies, corroded drums, or leaking seals, contact Weifang Top Trailer Accessories before the cold sets in. We supply OEM-quality trailer brake parts and custom axle solutions to customers throughout the United States, Canada, Australia, and New Zealand. Getting fresh parts installed now means your trailer rolls out of storage ready for the road — not ready for the repair shop.
Browse our full product catalog or reach out to our sales team for a custom quote tailored to your trailer’s specifications.