Towing a trailer for the first time feels exciting — until you press the brake pedal and feel your trailer push your truck forward. That unsettling sensation tells you one thing: you need an electric brake controller, and you need to set it up correctly.
Most states across the U.S., Canada, Australia, and New Zealand require trailer brakes once your loaded trailer exceeds roughly 3,000 pounds. But even if the law does not demand it, physics does. Your tow vehicle’s brakes simply cannot handle the extra weight safely on their own. A properly installed brake controller synchronizes your truck and trailer brakes, so both vehicles slow down together, reducing stopping distance and preventing dangerous sway.
At Weifang Top Trailer Accessories, we manufacture the brake assemblies and axle components that pair with your brake controller. However, even the best brake parts only perform as well as the controller that activates them. This guide walks you through the entire setup process — from choosing the right controller type to fine-tuning your gain settings on the road.
What Is an Electric Brake Controller?
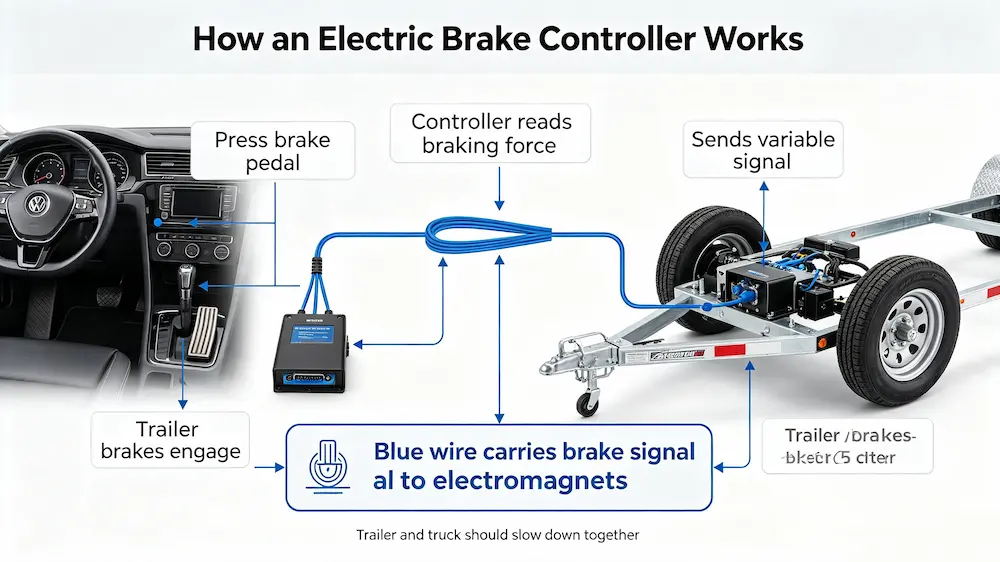
An electric brake controller is a small device you install in your tow vehicle’s cab. It sends a variable electrical signal through the blue brake wire to the electromagnets inside your trailer’s brake assemblies. When you press your truck’s brake pedal, the controller meters power to the trailer brakes in proportion to how hard you stop.
Think of it as the translator between your foot and your trailer’s wheels. Without it, your trailer rolls freely — and dangerously — behind you.
The controller typically sits under your dashboard, within easy reach of your right hand. Most models feature a manual override lever or button, which allows you to activate the trailer brakes independently. You use this feature to test the brakes before each trip or to correct trailer sway on the highway.
Proportional vs. Time-Delayed Controllers: Which One Should You Choose?
Before you grab your tools, you need to pick the right type of controller. The market offers two main categories, and your choice affects everything from installation to daily towing comfort.
Proportional Controllers
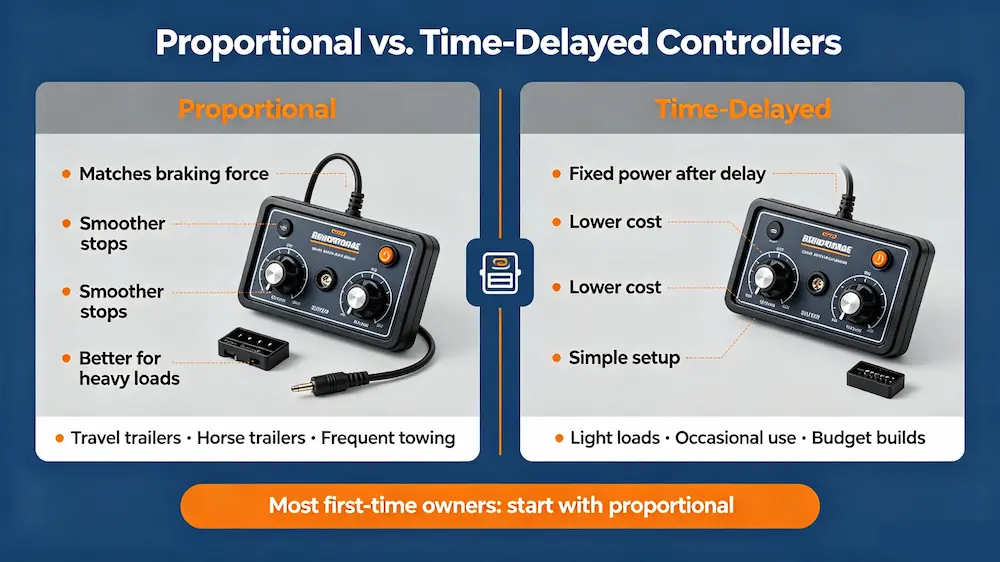
Proportional brake controllers use an internal accelerometer (or a triple-axis sensor) to detect exactly how hard you brake. They apply the trailer brakes with matching force. When you stop gently at a traffic light, the trailer eases in behind you. When you slam the pedal in an emergency, the trailer brakes respond with full power instantly.
Best for: Heavy loads, frequent towing, fragile cargo, horse trailers, travel trailers Key brands: CURT Echo, Tekonsha Prodigy P3, Redarc Tow-Pro Elite
Pros:
- Smooth, predictable stops
- Less wear on both truck and trailer brakes
- No manual adjustment needed between city and highway driving
Cons:
- Higher upfront cost (though the price gap narrows each year)
- Some models require mounting at a specific angle
Time-Delayed Controllers
Time-delayed controllers send a preset amount of power to the trailer brakes after a short delay each time you press the pedal. You set the power level and the ramp-up speed manually. The controller does not adjust based on how hard you brake — it always applies the same output.
Best for: Light loads, occasional towing, budget-conscious buyers, off-road use Key brands: CURT Venturer, CURT Discovery, Hopkins Agility
Pros:
- Lower cost
- Mount at any angle — no leveling required
- Simple interface with fewer settings to manage
Cons:
- Can feel jerky, especially in stop-and-go traffic
- May cause uneven brake wear over time
- Not ideal for heavy or variable loads
Our recommendation: For most first-time trailer owners, a proportional brake controller delivers the safest and most comfortable experience. The small extra cost pays for itself through smoother stops and longer brake life. If you tow only a few times a year with a lightweight trailer (a small utility trailer or a jet ski, for example), a time-delayed unit works fine.
What You Need Before You Start
Gather these items before you begin the installation:
Important: Many modern trucks (2010 and newer Ford F-150, Ram 1500, Chevy Silverado, Toyota Tundra) feature a factory brake controller port under the dash. You simply plug in a vehicle-specific adapter harness — no cutting or splicing necessary. Check your owner’s manual or search etrailer’s fit guide to find the correct adapter for your vehicle.
Step-by-Step Electric Brake Controller Installation
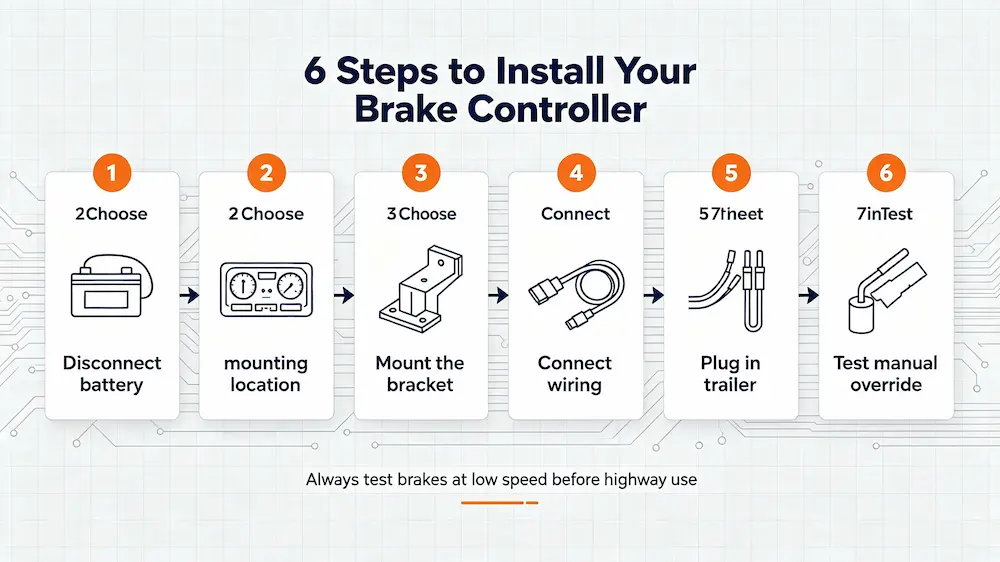
Follow these six steps to install your brake controller safely and correctly.
Step 1: Disconnect the Vehicle Battery
Start by disconnecting the negative (black) terminal of your vehicle battery. This step protects you from short circuits while you handle wiring and protects your controller from voltage spikes. Use a wrench to loosen the nut, lift the cable off the terminal, and tuck it away so it cannot accidentally touch the post.
Safety note: If your vehicle features an airbag system, wait at least 10 minutes after disconnecting the battery before you work under the dash. This gives the airbag capacitor time to discharge fully.
Step 2: Choose Your Mounting Location
Select a spot under the dashboard on the driver’s side. Mount the controller where your right hand can reach it easily without taking your eyes off the road. Common mounting locations include:
- Below the steering column to the right
- On the lower dash panel near your right knee
- Inside the center console (for compact, knob-style controllers)
Avoid placing the controller where it blocks your view of gauges, interferes with pedal operation, or sits directly in the path of an airbag deployment zone.
Important for proportional controllers: Most proportional models need level mounting — parallel to the ground and pointed in the direction of travel. If your mounting surface angles downward, use the included bracket to level the unit. Refer to your controller manual for the exact angle tolerance. Time-delayed controllers do not have this requirement and can mount at any angle.
Step 3: Mount the Bracket
Hold the bracket against your chosen spot and mark the screw holes with a pencil. Before you drill, confirm that nothing sits behind the panel — wiring harnesses, ductwork, or airbag components. Drill pilot holes, then secure the bracket with the provided self-tapping screws. Slide the controller onto the bracket until it clicks into place.
Step 4: Connect the Wiring
This step follows one of two paths depending on your vehicle.
Plug-and-play method (most vehicles 2005 and newer):
- Locate the factory brake controller port under your dash (usually near the OBD-II port or behind the kick panel).
- Plug the vehicle-specific adapter harness into the port.
- Connect the other end of the harness to your brake controller.
- Secure excess wire with zip ties.
Hardwired method (older vehicles or no factory port): You need to connect four wires:
Run the black power wire through the firewall using an existing grommet. Install the supplied auto-reset circuit breaker within 12 inches of the battery. Connect the red wire to the brake light switch wire — use a test light to identify the correct wire (it only receives power when someone presses the pedal). Crimp and insulate every connection thoroughly.
Step 5: Connect the Trailer
Reconnect your vehicle battery. Plug your trailer’s 7-way connector into the tow vehicle’s socket. The controller should power on and display its ready status.
If the display does not light up, double-check your power and ground connections with a multimeter. You should see 12V at the black wire.
Step 6: Test the Manual Override
With the trailer connected and the vehicle parked, activate the manual override lever or button on your controller. You should feel the trailer brakes engage — on most controllers, the display shows the output voltage climbing. Release the override and confirm the brakes release smoothly.
Roll forward at 5 mph in an empty parking lot and apply the manual override. The trailer brakes should slow you down noticeably. If they do not respond, check the blue wire connection at both the controller and the 7-way socket.
How to Adjust and Calibrate Your Brake Controller
Installation is only half the job. Proper gain adjustment makes the difference between a safe, comfortable tow and a white-knuckle ride.
What Is Gain?
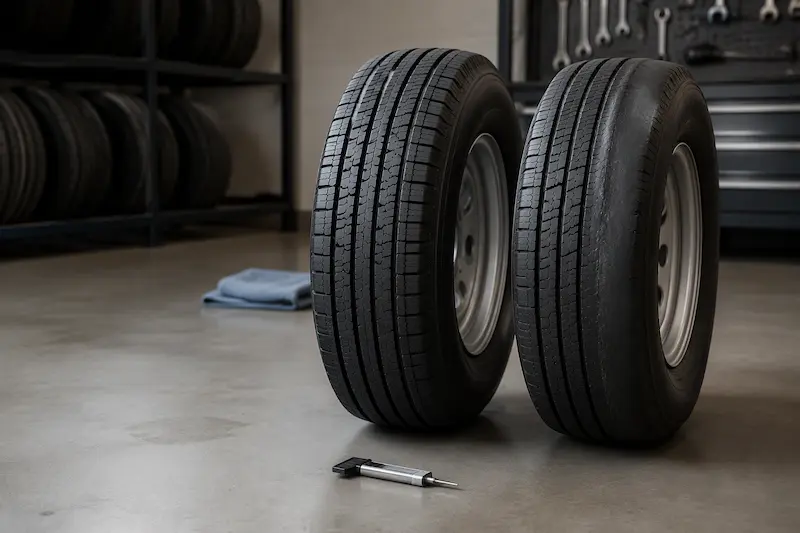
Gain controls how much braking power the controller sends to your trailer. Set it too low, and your truck does all the work. Set it too high, and the trailer wheels lock up, causing skidding and flat spots on your tires.
Adjustment Procedure
- Start low: Set the gain to the minimum (or to the manufacturer’s starting recommendation for your trailer weight).
- Find an empty stretch of road: A level, paved road or a large parking lot works best.
- Drive at 20-25 mph: Maintain a steady speed.
- Apply the manual override fully: Do not touch the brake pedal — use only the controller’s manual lever or button.
- Observe the trailer’s response:
- If the trailer brakes feel weak or the truck slows down on its own, increase the gain by one increment.
- If the trailer wheels lock up or skid, decrease the gain by one increment.
- Repeat until the trailer brakes feel firm and the trailer slows the entire rig evenly, just short of locking the wheels.
As a rule of thumb, start your gain setting at about 25-30% of maximum for a lightly loaded trailer, then increase it as you add weight. When you tow the same trailer regularly, you quickly learn which number works for each load.
Load-Specific Adjustments
Your gain setting changes with load weight. A trailer that weighs 2,000 pounds empty and 5,000 pounds loaded needs a higher gain when full. After hooking up, always perform a quick 25-mph manual-override test in a safe area and adjust accordingly.
Common Mistakes First-Time Owners Make
Avoid these frequent errors during setup and daily use:
Connecting Controller Performance to Your Trailer’s Brake Hardware
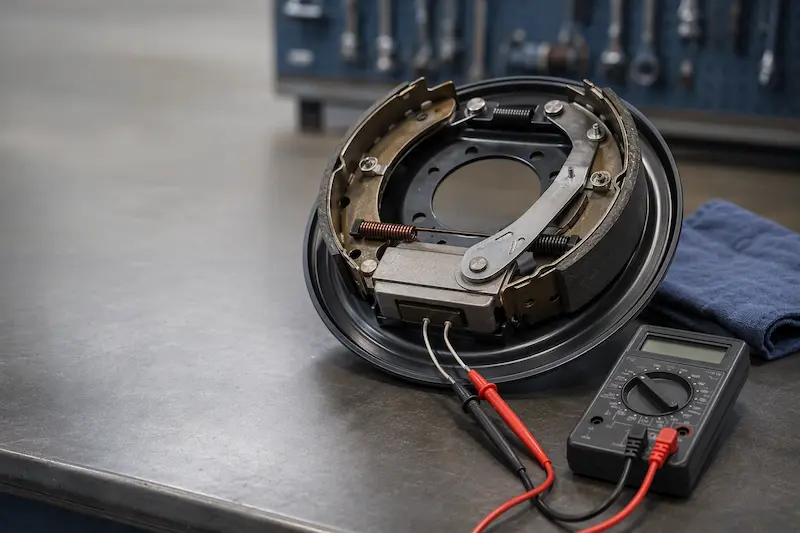
A premium brake controller cannot compensate for worn-out or poorly manufactured brake components. The controller sends the signal — but your trailer’s brake assemblies, brake drums, and axle parts actually convert that signal into stopping force.
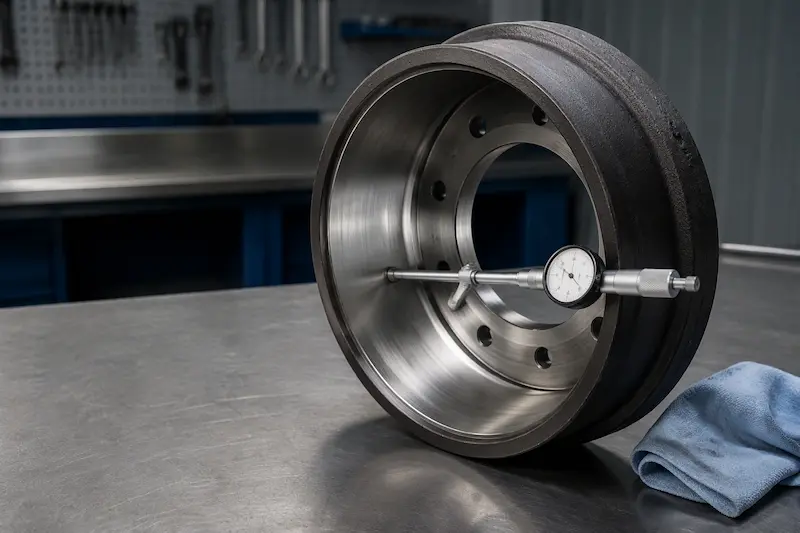
If your brake shoes have worn thin, your drums show glazing, or your axle components carry rust and corrosion, even the best controller delivers weak and inconsistent braking. We covered common brake performance issues in our earlier post, “Why Are My Trailer Brakes Locking Up? Common Causes and Fixes.” Meanwhile, “The Importance of Axle Alignment: How to Save Your Tires and Fuel” explains how axle geometry affects both braking and tire wear.
For owners who run boat trailers in harsh coastal conditions, our comparison “Hydraulic vs. Electric Brakes for Boat Trailers: Which Survives Saltwater Better?” helps you decide whether an electric-brake-and-controller setup suits your marine towing needs.
Safety Tips for Every Trip
- Test the controller and brakes at low speed before you merge onto a highway.
- Check the trailer plug connection — a loose 7-way cuts off the blue brake wire signal.
- Never test the breakaway switch while the 7-way remains plugged in. The breakaway battery back-feeds power into the controller circuit, which can destroy the unit instantly.
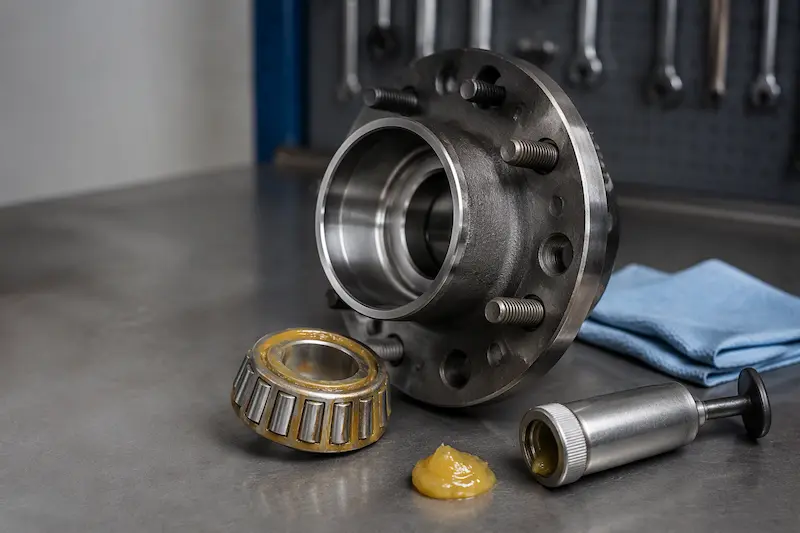
- Inspect oil seals and dust cups during routine maintenance — contaminated grease reduces braking efficiency and shortens component life.
- Adjust gain every time your load weight changes. A setting that works for an empty trailer will under-brake a fully loaded one.
Frequently Asked Questions (FAQ)
Do I legally need a brake controller?
Most U.S. states, Canadian provinces, and Australian states require trailer brakes when the gross trailer weight exceeds 3,000 pounds. Check your local regulations. Even when the law does not require one, a brake controller dramatically improves stopping safety with any trailer that has electric brakes.
Can I install a brake controller myself, or should I hire a professional?
Most people with basic DIY skills can install a brake controller in under an hour, especially if their vehicle has a factory brake controller port. If you feel uncomfortable working with automotive wiring or your vehicle requires a full hardwire installation, a professional shop can complete the job safely.
What is the difference between gain and sensitivity?
Gain controls the maximum power the controller sends to the trailer brakes. Sensitivity (also called sync or ramp time) controls how quickly the output reaches that maximum level. On time-delayed controllers, you adjust both. On proportional controllers, the unit adjusts sensitivity automatically based on your braking.
Why does my trailer jerk when I brake?
A jerky stop usually indicates that your gain setting is too high, your ramp-up time is too short, or you use a time-delayed controller with a heavy load. Reduce the gain by one or two increments, and test again at 25 mph.
Does the controller drain my battery when parked?
No. The brake controller only draws power when it detects the brake signal (or when you use the manual override). However, if you leave the 7-way connector plugged in for extended periods while the vehicle sits parked, the trailer’s breakaway battery may slowly drain through the auxiliary power circuit. Unplug the connector during long-term storage.
What happens if my controller shows an error code?
Most digital controllers display error codes for specific problems — short circuits, open circuits, low voltage, or trailer disconnect. Consult your controller’s manual for the code table. Common causes include:
- A blown fuse on the power line
- A loose ground connection
- A corroded 7-way plug
- A broken blue wire between the connector and the trailer brakes
Can I use one controller across multiple trailers?
Yes. As long as all your trailers use compatible electric brakes, a single in-cab controller works for any number of trailers. However, you must readjust the gain each time you switch trailers, because different trailers have different weights and brake configurations. For fleet operators, trailer-mounted controllers (like the Tekonsha Prodigy RF) keep the settings with the trailer and work with any tow vehicle.
Final Thoughts
Setting up your electric brake controller correctly protects your vehicle, your cargo, and everyone who shares the road with you. The process takes about an hour of focused work — and the confidence you gain from knowing your trailer stops when you need it to makes every mile more enjoyable.
Start with the right controller type for your towing style. Mount it securely and wire it carefully. Adjust the gain methodically at 25 mph. And build a habit of testing the manual override and inspecting your connections before every trip.
If you need replacement brake assemblies, axle components, or custom trailer parts to match your setup, contact Weifang Top Trailer Accessories today. Our team supplies high-quality electric brake assemblies, brake drums, axles, and other trailer parts to customers across the United States, Canada, Australia, and New Zealand.
Explore our full product range or request a custom OEM quote directly from our sales team.