Electric trailer brakes rarely fail all at once. They fade instead: stops grow longer, the controller gain climbs a notch every season, and the magnets work harder to make up the difference. In most cases, a simple clearance problem causes that decline — the shoes sit too far from the drum, so the magnet wastes travel before the linings ever touch.
At Weifang Top Trailer Accessories, we build electric brake assemblies, axles, and wheel-end components for trailer manufacturers and distributors across the United States, Canada, Australia, and New Zealand. Therefore, we field this question constantly: how do you set the magnet gap? The answer starts with one clarification, then follows a procedure that takes fifteen minutes per wheel.
1. What the “Air Gap” Really Means on an Electric Drum Brake
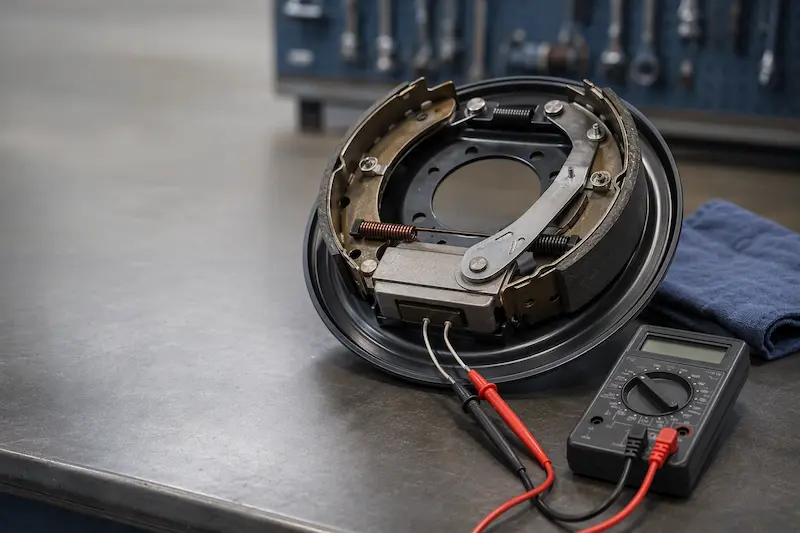
First, the clarification. On a Dexter-style electric drum brake, the magnet does not sit at a fixed, feeler-gauge distance from the drum. When the controller energizes the coil, the magnet pulls itself against the rotating armature surface on the drum face and drags along with it, which pulls the actuating arm and pushes both shoes outward. Dexter’s electric brake manual describes exactly that chain of events.
Consequently, the gap you can actually adjust is the shoe-to-drum clearance, and the star wheel adjuster sets it. That clearance governs everything the driver feels:
- Too much clearance forces the magnet arm to travel farther before the linings make contact. Braking turns soft, response lags, and the magnet arm runs near the end of its travel.
- Too little clearance keeps the linings touching the drum, which builds heat. Hot drums expand, the drag increases, and the cycle can glaze the linings, score the drum, and destroy a brake assembly within one trip.
In other words, when a technician says “set the magnet air gap,” the measurable task is brake adjustment — and the magnet itself becomes an inspection item rather than a shimmed part. Papers from Dexter’s light duty service manual treat it that way: adjust the shoes, then inspect the magnet and armature for wear.
2. When to Adjust Electric Trailer Brakes
Dexter’s published intervals keep this job simple. Adjust the brakes under four conditions:
- After the first 200 miles on new shoes and drums, once the linings seat.
- Every 3,000 miles under normal use.
- After replacing shoes, drums, or magnets, because new parts change the clearance.
- Whenever braking feels weak and the electrical checks come back clean.
Moreover, add one more occasion: before a long trip with a heavy load. Fifteen minutes of setup beats a roadside repair.
3. Tools and Safety Setup
Gather the following before you start:
- A jack plus jack stands rated for the trailer load
- A brake adjusting spoon (a narrow flathead screwdriver works as a substitute, though it offers less control)
- A flashlight, because the adjustment slot sits low on the backing plate
- A small screwdriver for prying out the rubber plug
Above all, support the trailer on its frame. Dexter’s instructions repeat the warning in capital letters: never lift or support the trailer on the axle or suspension, and never crawl under a trailer that a jack alone holds.
4. Set the Clearance: Step by Step
Dexter’s adjustment procedure reads short, and it works on every manually adjusted electric brake:
- Lift and support the trailer until the wheel clears the ground, then confirm that the drum rotates freely.
- Remove the adjusting hole cover from the slot at the bottom of the backing plate, around the 6 o’clock position. Some backing plates use a rubber plug instead of a metal cover.
- Locate the star wheel. Many backing plates carry two slots because they fit either side of the trailer, and only one slot reaches the star wheel. Probe gently with a screwdriver until you feel the toothed wheel, then note which slot works.
- Expand the shoes with the spoon, turning the star wheel until the linings press hard enough that the drum becomes very difficult to turn. Spin the drum as you go, and treat that point as your reference.
- Back the shoes off until the drum rotates freely with a slight, even lining drag. Field practice settles on 8-10 clicks of the star wheel from the hard-drag point, because that lands most 10-inch and 12-inch assemblies in the right range.
- Refit the plug or cover. It keeps road grit out and stops the star wheel from vibrating out of adjustment.
- Repeat on every wheel, and match the clearance across both sides of each axle so the trailer stops straight.
Direction trips up most first-timers, because the star wheel expands the shoes on opposite rotations depending on which side of the trailer you work on:
| Side of trailer | To expand (tighten) the shoes | To back off (loosen) |
|---|---|---|
| Driver’s side (left) | Turn the bottom of the star wheel toward the rear | Turn the bottom toward the front |
| Curb side (right) | Turn the bottom of the star wheel toward the front | Turn the bottom toward the rear |
Meanwhile, if you turn the wheel steadily and nothing happens, you have the wrong slot or the wrong direction. Reverse and the star wheel engages immediately.
5. Judge the Result Before You Lower the Trailer
Spin the drum and read the feedback:
| What you feel | What it means | What to do |
|---|---|---|
| Drum will not turn | Far too tight | Back off 3-4 more clicks |
| Heavy drag, hard to spin | Still too tight | Back off 2-3 more clicks |
| Light, even drag | Correct adjustment | Refit the plug and move on |
| Spins freely with zero drag | Too loose | Turn in 1-2 clicks |
| Grinding or scraping | Possible shoe or drum damage | Pull the drum and inspect |
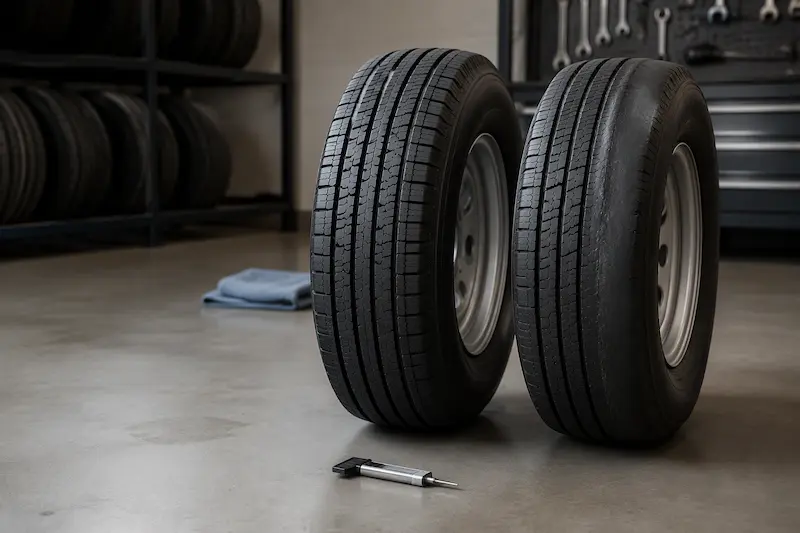
After the static check, road-test the trailer. Drive ten to fifteen miles and compare hub temperatures with an infrared thermometer; a drum that runs noticeably hotter than its neighbours needs a few clicks of relief. Then set the controller gain to the point just short of wheel lockup, and confirm that the trailer brakes engage slightly ahead of the tow vehicle’s brakes. Dexter’s manual notes that a threshold voltage near 2 volts keeps engagement smooth.
6. Inspect the Magnet Side While the Wheel Is Off
Since the magnet does the real work, take two minutes to check it. Dexter recommends a straightedge test: lay a straightedge across the magnet face, and replace the magnet if you see gaps, because gaps mean uneven wear. Replace it as well if any part of the coil shows through the friction material facing.
In addition, follow three related rules:
- Replace magnets in pairs. Both wheel ends on an axle should carry equally fresh magnets, or the brakes pull to one side.
- Reface the armature when you replace magnets. Dexter specifies a 120 micro-inch finish with no more than 0.030 in. of material removed, since a magnet and its armature surface must match.
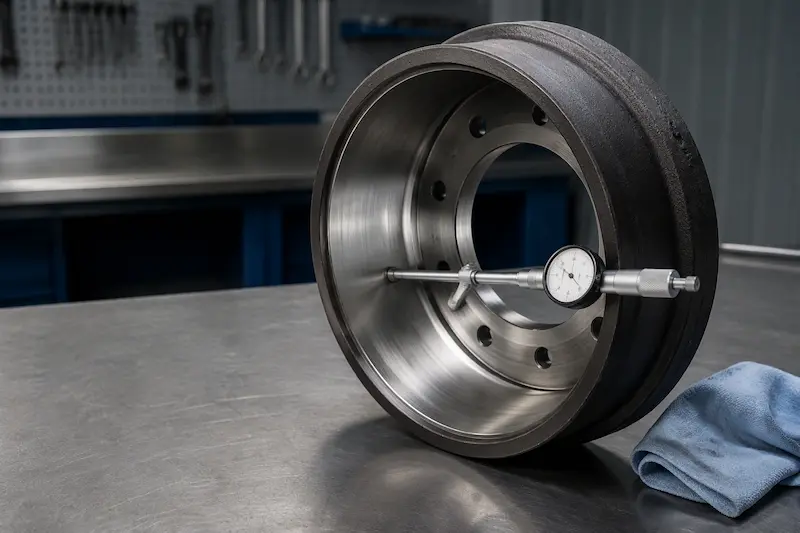
- Measure the drum. Out-of-round beyond 0.015 in. calls for re-machining; maximum re-bore diameters run 7.090 in. for a 7-inch drum, 10.090 in. for a 10-inch drum, 12.090 in. for a 12-inch drum, and 12.340 in. for a 12-1/4-inch drum. Deep scoring beyond 0.090 in. on the diameter means replacement.
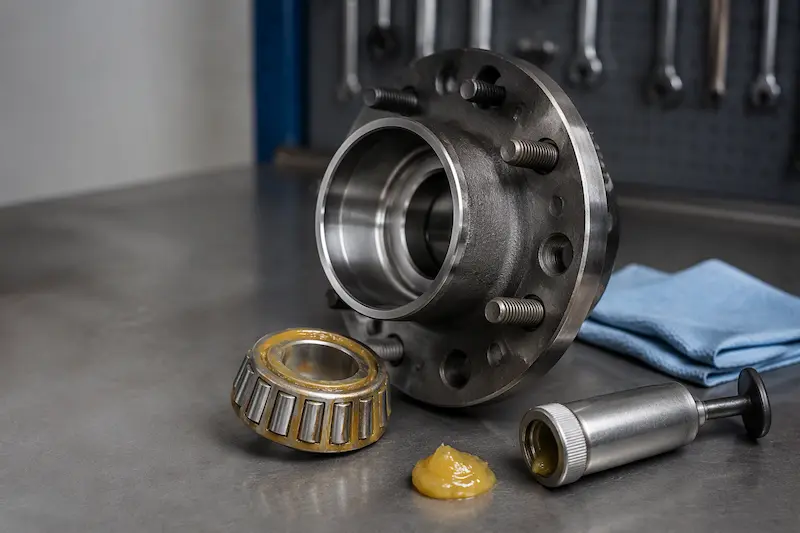
Check the linings at the same time, and replace them once they wear to 1/16 in. or less, or whenever grease, oil, or heavy scoring contaminates them. Then apply a light film of grease to the anchor pin, the actuating arm bushing, and the contact pads on the backing plate — and keep every trace of grease away from the linings, drums, and magnets. If you notice cracked, chipped, or unevenly worn magnets, our guide to brake magnet failure signs covers the diagnosis in more detail.
7. Verify the Electrics Before You Blame the Adjustment
Weak braking often traces to voltage rather than clearance, because the magnets need full current to develop full force. Test the circuit in this order:
- Voltage at the magnet. Probe the two magnet lead wires with the tow vehicle running. The reading should climb from near zero to roughly 12 volts as the controller ramps up. As a result, a system that jumps straight to a high value or stalls at a low one points to the controller, not the brakes.
- Amperage. Dexter’s chart lists 3.0 amps per magnet for 10-inch and 12-inch brakes, and 2.5 amps for 7-inch brakes. Four brakes on a 12-volt system therefore draw about 12 amps at full output.
- Magnet resistance. A healthy 10-inch or 12-inch magnet measures 3.2-3.5 ohms, while a 7-inch magnet reads 3.8-4.0 ohms. An open or shorted coil shows up immediately.
- Wire gauge and ground. Run 12 AWG for two brakes, 10 AWG for four brakes beyond 30 feet of hitch-to-axle distance, and 8 AWG for six brakes on a long trailer. Seal every connection, and ground the brakes through the connector rather than through the frame.
If the electrical side checks out and the trailer still stops poorly, revisit the clearance — under-adjustment remains the most common cause of weak electric trailer brakes in the field. Faults that persist alongside grabby or locking behaviour usually belong to the controller; our troubleshooting guide on why trailer brakes lock up covers those cases.
8. Self-Adjusting Brakes Need a Different Routine
Many newer trailers come with forward self-adjusting brakes such as Dexter’s Nev-R-Adjust line, which the manufacturer describes as adjusting during normal brake actuation. These assemblies rotate the adjuster screw whenever lining wear opens up enough clearance, so they need no star wheel work.
Nevertheless, self-adjusting brakes still demand attention. Inspect magnets, drums, and linings on the same schedule, burnish new components before you judge their performance, and check hub temperatures after long trips. The self-adjuster compensates for wear between services; it does not repair an over-grooved drum or a warped magnet.
9. Burnish New Parts, Then Re-Check
Fresh shoes and drums need bedding before they deliver full friction. Dexter’s procedure calls for 20-30 brake applications from 40 mph down to 20 mph, with enough time between stops for the brakes to cool. Skipping this step leaves the linings glazed and the brakes feeling wooden.
Finally, re-check the adjustment after the first 200 miles of towing, then settle into the 3,000-mile interval. Load changes matter too — a trailer that hauls a heavier cargo load needs a higher controller gain, because the same magnet force now stops more mass.
FAQ: Electric Trailer Brake Adjustment
Q: Can I set the magnet air gap with a feeler gauge? A: Not on a standard electric drum brake. The magnet pulls against the drum’s armature surface whenever the controller energizes it, so no fixed gap exists to shim. The adjustment you make is the shoe-to-drum clearance at the star wheel.
Q: How many clicks should I back the star wheel off? A: Back it off until the drum spins freely with a slight, even lining drag. Starting from the point where the drum locks up, most technicians count 8-10 clicks in the opposite direction.
Q: Why does one drum run hotter than the others? A: Over-adjustment usually explains it, because a dragging lining builds heat continuously. Back that brake off several clicks, then confirm that the drum spins with light drag only. A seized shoe or a weak return spring can cause the same symptom.
Q: How often should I adjust electric trailer brakes? A: Dexter advises an adjustment after the first 200 miles on new components, then every 3,000 miles, along with any time braking feels weak and the electrical system tests clean.
Q: My brakes still feel weak after adjusting. What should I check next? A: Test voltage, amperage, and magnet resistance at each wheel, then verify the ground path and the wire gauge. Magnet resistance should read 3.2-3.5 ohms on 10-inch and 12-inch brakes, and each magnet should draw about 3.0 amps.
Q: Which way do I turn the star wheel to tighten the shoes? A: It depends on the side. On the driver’s side, turn the bottom of the star wheel toward the rear of the trailer. On the curb side, turn the bottom toward the front. Reverse the rotation to back the shoes off.
Conclusion: Clearance First, Magnets Second
Setting an electric trailer brake comes down to two habits. Adjust the shoe clearance so the magnet reaches the drum quickly, and inspect the magnet and armature so the friction pair stays flat and clean. Consequently, your trailer stops shorter, runs cooler, and asks less of the tow vehicle.
At Top Axles, we manufacture electric brake assemblies, magnets, drums, and complete axle packages to OEM specifications, and our engineers help distributors and trailer builders match brake capacity, magnet type, and wheel-end hardware to each application. Review our electric brake and axle range, explore OEM and ODM programs, or contact our team with your axle rating for a same-day recommendation.