
You hear a clunk from the trailer, spot a bent tube, or simply want to upgrade the capacity — and suddenly you face one question: how to measure a trailer axle so the replacement fits the first time. Guess wrong on the hub-face width and the new axle arrives inches too narrow. Misjudge the spring center and the wheels will rub the frame. In short, a tape measure and fifteen minutes save you weeks of return shipping and downtime.
This guide walks you through every measurement a factory needs to build or supply your axle: hub-face width, spring centers, spindle types, and the smaller details that separate a perfect fit from a costly mistake.
Why Guessing the Size Costs You Time and Money
Axles look similar from a distance, yet their dimensions differ in ways you cannot see with the wheels bolted on. Trailer axle replacement demands precision because every component downstream — hubs, brakes, springs, fenders — attaches to those numbers.
However, most replacement failures come down to the same three errors. People order by the trailer’s GVWR alone, they measure only one width, or they forget that drop axles use different reference points. As a result, the axle either cannot mount, sits off-center, or overloads one side. In practice, supplying your manufacturer with four clean measurements eliminates all three risks.
The Two Widths That Define Any Replacement Axle
Before you touch the tape, understand what you are measuring and why. Two numbers anchor the entire order:
Hub-face width — the distance from the outside face of one hub (or brake flange) to the outside face of the opposite hub. This dimension positions the wheels relative to the trailer frame and fenders. Wheel well clearance, track width, and tire contact all depend on it.
Spring center distance — the distance from the center of one leaf-spring seat to the center of the other. Because the spring hangers are welded to the trailer frame, this number rarely changes. Get it right and the axle drops into place; get it wrong and the springs will not line up with the hangers at all.
Once you record both, the supplier can also flag mismatches — for example, a hub-face width that leaves too little room between spring and brake flange.
Step-by-Step Guide: How to Measure a Trailer Axle for Replacement
Park the trailer on level ground, chock the opposite side, and raise the axle with jack stands. Then remove both wheels and hubs (or at least the wheels). Removing the hubs reveals the brake flange and spindle, which makes every reading easier and more accurate.
Step 1: Find the Axle Label or Stamped Serial Number
Most axles carry a label on the tube facing the rear of the trailer, listing capacity, model, hub face, and spring center. Dexter’s guide to reading an axle label explains each field clearly. If the label has worn away, look for a nine-digit serial number stamped into the tube near its center. Photograph the label or stamp before you measure — it confirms your readings and helps the factory match the exact build.
Step 2: Measure the Hub-Face Width
Stretch a steel tape from the outside face of one hub to the outside face of the other, keeping the tape parallel to the axle tube. Record the value to the nearest 1/8 inch.
If the hubs are missing, measure from the outside of one brake flange to the outside of the other, then add the standard flange-to-hub distance for your capacity class (roughly 3 inches per side on a 3,500-lb axle). eTrailer’s how-to-measure-a-trailer-axle FAQ demonstrates both the direct and the flange-based method with diagrams, including the double-check formula for broken axles.
For a drop axle, note the drop amount as well — the vertical distance from the spindle centerline to the tube centerline. Two axles with identical hub-face widths can differ in drop, and that difference changes the trailer’s ride height.
Step 3: Measure the Spring Center Distance
With the tape centered over one leaf-spring seat, measure to the center of the opposite seat. Working alone, hook the tape on the outside edge of one spring and read the inside edge of the other — this yields the same center-to-center value without an assistant.
This dimension matters most when the springs mount under the axle (underslung), because the seats sit close to the brake flanges. Confirm there is adequate clearance between spring seat and flange on both sides.
Step 4: Identify the Spindle Type and Size
The spindle determines which hubs and bearings fit, so record its style and diameter. Two families dominate the light- and medium-duty market:
- Round spindles, typically on round-tube axles up to about 3,500 lb.
- Square spindles, common on square-tube and higher-capacity axles such as 5,200-lb and 7,000-lb units.
Measure the spindle diameter at the outer bearing journal with a caliper and note whether the axle carries a weld-on spindle or a forged one-piece design — both styles appear in our axle parts range. Matching spindle type to the existing hubs prevents buying a full hub set you do not need.
Step 5: Record the Brake Configuration
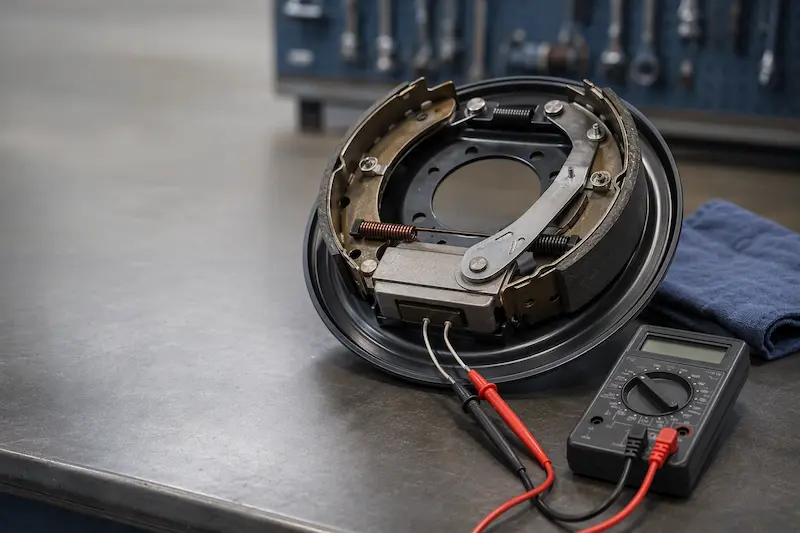
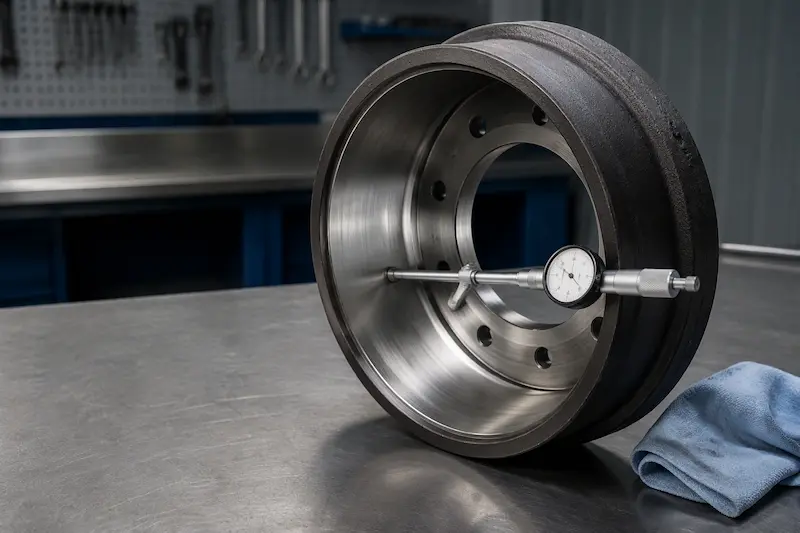
Lift the hub off and check what the axle carries. Electric brake assemblies come in common sizes such as 10-inch and 12-inch drums, while heavier or marine applications use hydraulic units. Note the drum diameter, the brake width, and whether the system is self-adjusting. If the old brakes are worn out anyway, this is the moment to upgrade the whole brake assembly alongside the axle — a combined order saves freight and labor.
Step 6: Confirm the Hub and Lug Configuration
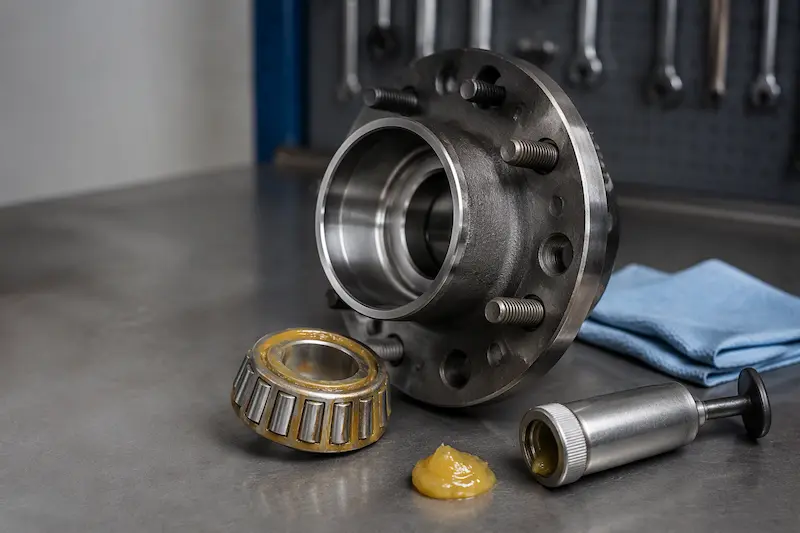
While the hub sits on the bench, count the studs and measure the bolt circle (for example, 5 on 4-1/2 or 6 on 5-1/2). The lug pattern must match your existing wheels. If you order a complete axle with hubs, state the pattern explicitly instead of assuming the factory defaults to it.
Step 7: Note Capacity, Coating, and Application
Finally, record the required capacity — 2,000 lb, 3,500 lb, 5,200 lb, 7,000 lb — plus the operating environment. Road-salt regions and coastal areas justify a galvanized trailer axle, while a torsion suspension may serve RV and boat trailers better than leaf springs. Also state whether this is a straight axle or a drop axle and the exact drop value.
What to Do When the Old Axle Gives No Clean Measurements
A bent or broken axle sometimes refuses to give clean readings. In that case:
- Multi-axle trailers — measure the matching good axle and use those numbers.
- Single-axle trailers — measure from the center of one spring seat to the outside edge of the hub face, double that value, and add the spring center distance. eTrailer’s guide above shows this recovery formula in detail.
- No reference at all — supply the trailer’s frame dimensions (spring-hanger spacing and desired track width) so the factory can engineer the axle geometry from scratch.
Five Measurement Mistakes That Wreck Replacement Orders
Even careful owners slip on these details, so watch for them:
- Measuring outside of bracket instead of spring center. The spring seats define the fit, not the hanger brackets.
- Reading hub-face width with hubs still installed when the hub flanges differ in thickness from the replacement hubs.
- Forgetting the drop value on drop axles, which changes ride height even when the hub-face width matches.
- Ignoring spindle roundness — a slightly oval bearing journal from an old bearing failure will mislead a caliper; measure at two points and average.
- Assuming the old axle was correct. Many trailers run with mis-matched axles from previous repairs, so trust your measurements over the existing part.
What to Send Us with Your Axle Inquiry
When you contact a supplier, a complete spec sheet earns you an accurate quote on the first reply. We ask our customers for exactly these items:
- Hub-face width (and drop amount, if applicable)
- Spring center distance
- Spindle type and diameter, or the hub/lug pattern you intend to reuse
- Brake size and type (electric, hydraulic, or idler)
- Capacity required and trailer application
- Coating preference: painted, galvanized, or powder-coated
Browse our trailer axle assembly range or drop-axle options such as the 3.5K round-tube straight axle, then send your list through the contact form. For custom builds, our engineering team reviews your measurements and confirms the geometry before production — the same OEM/ODM service we provide for dealers and trailer manufacturers worldwide.
FAQ
1. Why is it important to measure a trailer axle before ordering? Because hub-face width and spring center distance are frame-specific. An axle that looks identical can differ by an inch in either dimension, and that inch decides whether the wheels clear the fenders and whether the springs meet the hangers.
2. How do I measure a trailer axle with the wheels still on? You cannot measure reliably with wheels fitted. Jack the trailer, remove the wheels, and measure hub face to hub face across the exposed hubs or brake flanges.
3. What is the difference between hub-face width and spring center? Hub-face width sets the wheel track relative to the frame; spring center sets where the suspension mounts. Most axles need roughly 24–26 inches more hub-face width than spring center for brake and spring clearance, depending on capacity.
4. Which spindle types do trailer axles use? Round spindles suit light round-tube axles up to about 3,500 lb; square spindles appear on square-tube and heavier axles from 5,200 lb upward. Some axles also use weld-on spindles that a shop can replace without swapping the whole tube.
5. Can I replace a spindle instead of the whole axle? Yes, if the tube itself is straight and undamaged. A weld-on spindle replacement costs less than a new axle, but you must match the spindle rating to the axle capacity and align it squarely with the opposite side.
6. What information does a manufacturer need to build a custom axle? Hub-face width, spring center distance, spindle type, brake configuration, capacity, coating, and application — plus the drop amount for drop axles. Send all of them and you receive a buildable quote with no back-and-forth.
Ready to Order the Right Axle the First Time?
Now that you know how to measure a trailer axle, grab the tape, record the seven specs above, and compare your numbers with our catalog. If anything looks ambiguous — especially on drop axles or tandem setups — send us photos with the measurements, and our team will confirm the fit before you commit. An accurate measurement today turns a one-time replacement into years of trouble-free towing. g.