You hook up the trailer, set the gain on the controller, and press the pedal — nothing. Or worse, the brakes cut in and out at random while you are on the highway. In most cases, the problem is not the brake assemblies at all; it is the wiring between the tow vehicle and the trailer.
In this guide, we explain how to wire electric trailer brakes through the standard 7-way plug, break down every pin in the connector, and walk you through troubleshooting the most common faults.
Why Wiring Matters More Than You Think
First, a reality check: electric trailer brakes are only as good as the circuit that feeds them. The brake controller sends a current, the magnets inside each wheel need that current to energize, and the entire loop depends on a solid ground return to the tow vehicle. If any link in that chain is weak — a corroded pin, a frayed wire, a rusty ground — braking power drops or disappears entirely.
Safety regulators agree. For example, the Federal Motor Carrier Safety Administration (FMCSA) enforces braking performance requirements for commercial vehicle combinations, and the National Highway Traffic Safety Administration (NHTSA) lists brake checks as a core part of its trailer safety guidance. Therefore, when electric trailer brakes act up, the smart first move is to inspect the wiring before touching any hardware.
The 7-Way Plug: Pinout Diagram Explained
The 7-way plug — also called the 7-pin connector or RV blade plug — is the standard towing connector in North America. It carries everything the trailer needs: lights, auxiliary power, and the brake signal. Here is the standard pinout:
| Pin | Function | Standard wire color |
|---|---|---|
| 1 | Ground return | White |
| 2 | Electric brakes | Blue |
| 3 | Tail / running lights | Brown |
| 4 | Left turn & brake light | Yellow |
| 5 | Right turn & brake light | Green |
| 6 | 12V auxiliary power | Black or red |
| 7 | Reverse lights | Purple (sometimes red) |
Specifically, the blue wire on pin 2 is the one that matters for braking: it carries the current from the controller to the brake magnets. However, keep in mind that wire colors vary slightly between manufacturers and model years. Consequently, always confirm each pin’s function with a multimeter before assuming the color code is correct.
Wiring the Brake Circuit: Step by Step
Now that you understand the plug, here is how the brake circuit is wired. In other words, the current flows in a simple loop: controller → 7-way plug pin 2 → trailer harness → brake magnets → ground return.
Step 1 — Prepare the tow vehicle side. Mount the brake controller and connect its power, ground, and brake signal wires according to its manual. Then confirm the 7-pin socket’s pin 2 outputs the brake signal.
Step 2 — Run the trailer harness. Route the 7-core cable along the trailer frame, keeping it clear of moving parts, the exhaust, and any sharp edges. Use cable loom and clips to secure it.
Step 3 — Ground first. Connect the white ground wire to a clean, bare-metal point on the trailer frame. Scrape away paint and rust, then use a star washer for a solid bite. This single connection prevents more brake failures than any other step.
Step 4 — Wire the magnets in parallel. Connect the blue brake wire to the first wheel’s magnet, then loop from magnet to magnet — every magnet gets the same hot wire and the same ground. Wiring magnets in series is a common mistake that cuts braking force drastically.
Step 5 — Protect and seal. Use waterproof connectors and dielectric grease on every splice, because moisture is the silent killer of trailer wiring.
Step 6 — Test before you tow. Apply the manual override on the controller and confirm a distinct “click” at every wheel.
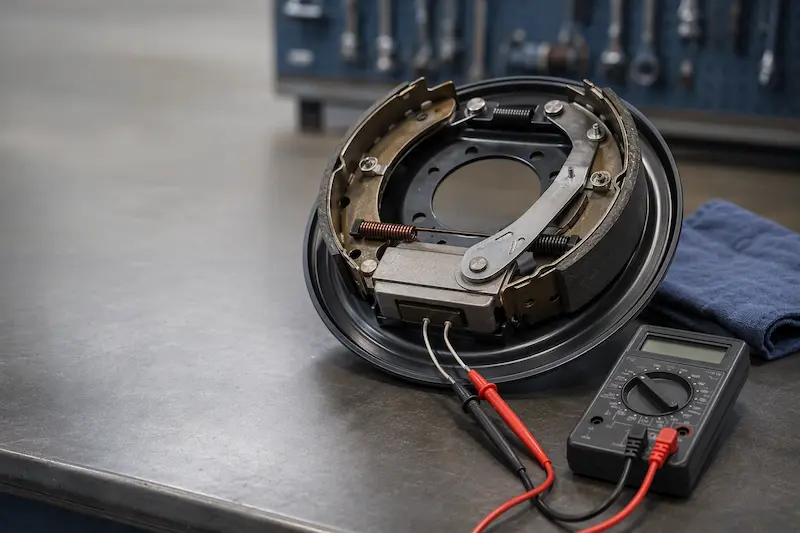
Meanwhile, remember that the magnets live inside your electric brake assemblies — and even a perfectly wired system underperforms if the magnet air gap is out of spec, so check that adjustment after any wiring repair.
Common Wiring Faults and How to Fix Them
Even good wiring develops faults over time. Here are the failures we see most often, and how to fix them:
- Dead brakes everywhere — no voltage at pin 2. Check the controller, the 7-pin socket, and the harness for a broken wire.
- Weak or intermittent braking — almost always a bad ground or corroded pins. Clean the contacts and re-ground the white wire.
- Lights work, but brakes do not — the brake circuit is isolated; test pin 2 directly with a multimeter while a helper applies the pedal.
- One wheel does not brake — a break in that wheel’s parallel loop, or a failed magnet. Trace the wire from the previous wheel to the dead one.
- Circuit overload — running more than four brakes on a low-rated controller blows fuses. Count your brakes and confirm the controller’s amp rating covers the draw.
In addition, inspect the plug itself: bent pins, cracked housings, and green corrosion on the contacts are all easy to replace and cheap to fix.
How to Test Your Trailer Brake Wiring
A multimeter turns guesswork into diagnosis. Here is a quick test sequence:
- Continuity test — between the trailer plug’s pin 2 and each magnet wire, the circuit should read near-zero resistance.
- Voltage test — with the trailer connected and the manual override applied, pin 2 should show roughly 12V.
- Click test — listen at each wheel while the override is applied; every magnet should energize.
- Amp draw test — clamp the meter around the blue wire; each brake should draw about 3 amps.
For instance, if voltage reaches the plug but a wheel stays silent, the fault is in the trailer-side harness or that magnet — not the tow vehicle.
Conclusion
To summarize, wiring electric trailer brakes through the 7-way plug comes down to four things: the blue brake wire on pin 2, a parallel circuit through every magnet, a rock-solid ground, and a multimeter test before every season. First, confirm the pinout; next, ground the frame; then, wire the magnets in parallel — and your braking will be as reliable as the day the trailer left the factory.
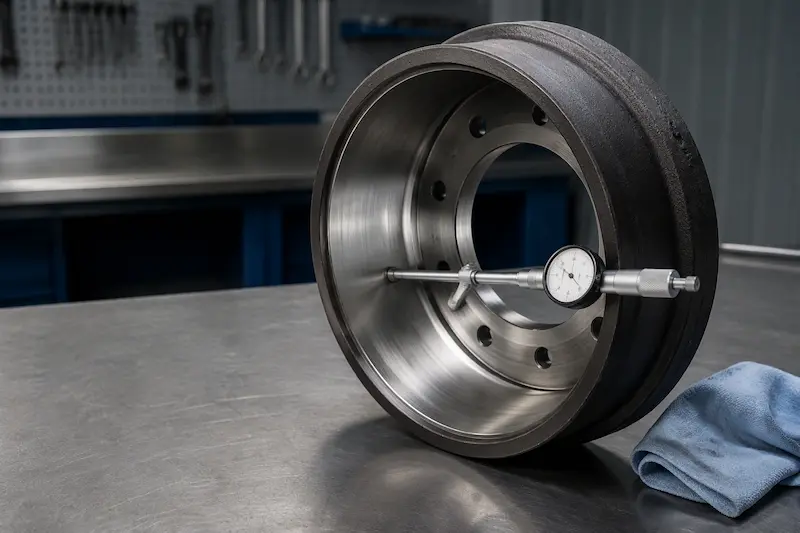
If the wiring checks out but braking still feels weak, the next suspects are the brakes themselves — worn shoes, scored brake drums, or an aging axle assembly. Our team can help you source replacement parts for any trailer, and we support OEM and customized orders worldwide. Visit our contact page for a quotation or catalog — we reply within 24 hours.