If your trailer is equipped with electric brakes, regular maintenance is essential—just like the brakes on your tow vehicle. To service your trailer’s brakes properly and order the correct replacement parts, you’ll need to know how to identify the brake components and recognize common issues.
This guide walks you through identification, replaceable components, and troubleshooting tips to keep your braking system operating safely and efficiently.
Identifying Electric Trailer Brakes
1. Determining Left vs. Right Brake Assemblies
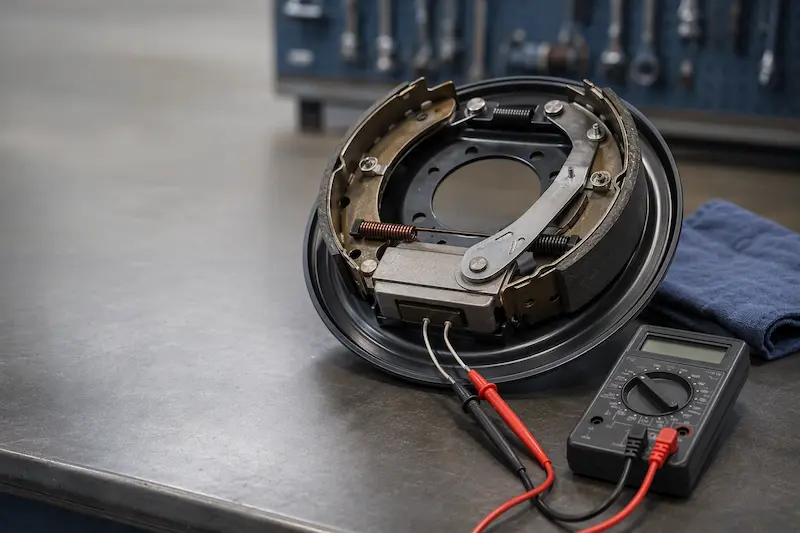
With the magnet positioned at the bottom of the assembly, the actuating arm runs from the top pivot downward toward the magnet:
-
If the arm curves left, it is a left-hand brake assembly.
-
If the arm curves right, it is a right-hand brake assembly.
2. Measuring Brake Size
To determine brake size, measure:
-
The diameter across the center of the shoe assembly.
-
The width of the brake shoe lining.
These two measurements define the brake size you need for replacement.
3. Flange Mount Style
Count the number of mounting holes or studs on the brake backing plate. This identifies your brake’s flange type and fitment.
4. Common Replaceable Components
Some braking issues can be fixed by replacing individual components rather than a full assembly. Common replacement parts include:
-
(1) Magnet
-
(2) Return springs
-
(2) Hold-down springs
-
(2) Primary and secondary shoe linings
-
(1) Adjuster
-
(1) Adjuster spring
Troubleshooting Faulty Trailer Brakes
1. Magnets
A failing magnet often causes erratic brake controller behavior. The magnet activates the brakes by gripping the inside face of the drum. Check for:
-
Exposed windings
-
Pinched, broken, or frayed wires
-
Inconsistent surface wear
A new magnet has a flat surface. If the drum’s interior surface is uneven, the magnet may not make full contact, resulting in reduced braking performance.
2. Brake Adjustment
Brakes must be adjusted periodically, even self-adjusting brakes, which may fail to adjust properly as parts wear.
Adjustment steps:
-
Turn the adjuster until the wheel cannot rotate.
-
Back the adjuster off until the wheel spins freely.
-
A properly adjusted brake will have a slight, constant drag.
3. Adjuster & Adjuster Spring
Located below the magnet, the adjuster should turn smoothly while being held under constant spring pressure.
Common problems include:
-
Seized or frozen adjuster
-
Broken adjuster spring (you may hear it “rolling around” inside the drum)
-
Adjuster maxed out → likely indicates worn brake shoes
If the adjuster is at its limit but the shoes are not worn out, check:
-
Hold-down springs for fatigue
-
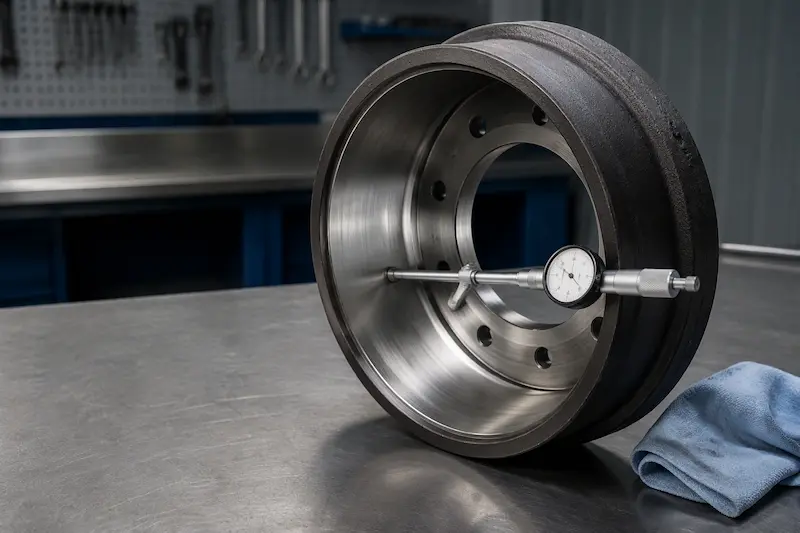
Drum bore diameter to ensure it is within maximum re-bore specifications (marked on the drum)
4. Return & Hold-Down Springs
Worn or weak springs can cause:
-
Excessive heat
-
Brake drag
-
Burning odor (“stinky brakes”)
-
Shoes failing to retract properly
Return springs retract the brake shoes, while hold-down springs keep them aligned and centered. Failing springs can lead to premature brake failure.
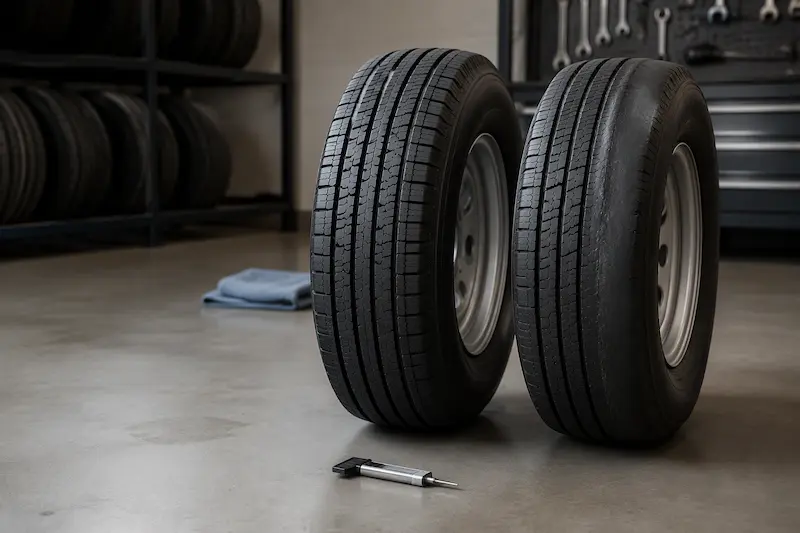
5. Shoes & Linings
Brake shoes should wear evenly from top to bottom.
Uneven wear often indicates:
-
Poor brake adjustment
-
Return springs not functioning correctly
Contact Us
Trailer Axles are essential vehicle components for many tasks and industries — commercial or recreational. Weifang Top is an award-winning dealer and a one-stop shop for all your trailer needs.
Our expert team will help you find the right trailer options, and we’ll inspect, customize and deliver it straight to you.
Our vast inventory ensures you can find a trailer that fits your requirements, application and budget. Browse our high-quality trailers or contact us to learn about our products and services.
For more details on installation and specifications, visit our official product page or contact our technical support team for personalized assistance.