Properly installing a 10-inch brake assembly with an integrated handbrake (parking brake) is essential for ensuring safe and reliable trailer operation. Whether you’re upgrading your trailer brakes or replacing worn components, following the correct procedure will help you achieve optimal performance. This guide walks through each step of the process, from preparation to testing, and offers practical tips along the way.
1. Preparation and Safety
Before beginning any brake work, safety should be your top priority.
Secure the Trailer
-
Park the trailer on a level surface.
-
Chock the wheels that will remain on the ground.
-
Raise the trailer using a jack and support it securely on jack stands—never rely on the jack alone.
Remove Wheels and Old Brake Components
-
Remove the wheel lug nuts and take off the wheels.
-
If you’re replacing existing brakes, remove the brake drums and unbolt the old brake assemblies.
Taking time to prepare properly creates a safe environment and ensures the rest of the installation goes smoothly.
2. Installing the New Brake Assembly
With the wheel hub area exposed, you can now install the new 10-inch brake backing plate.
Mount the Backing Plate
-
Align the backing plate with the axle flange.
-
Insert the supplied hardware—nuts, lock washers, or cotter pins depending on the kit.
-
Tighten the fasteners to the manufacturer’s torque specifications.
Check Internal Components
Ensure the brake assembly is properly set up:
-
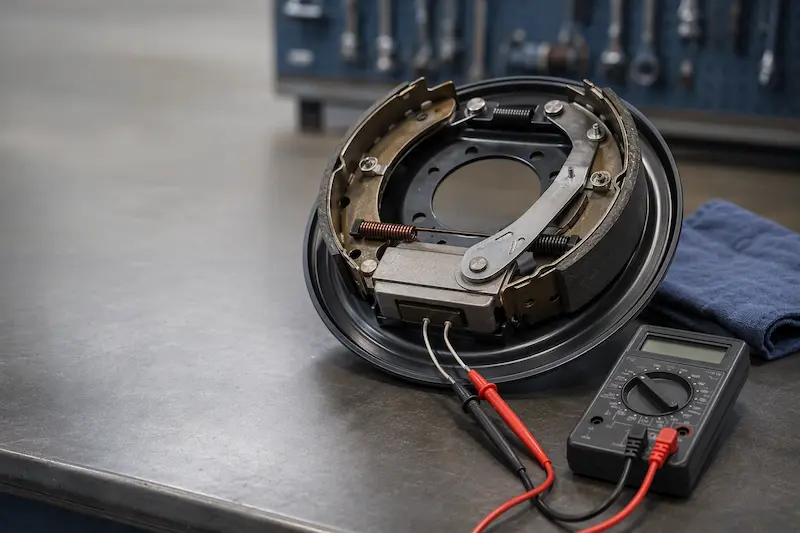
Brake shoes seated correctly
-
Return springs and hold-down springs in place
-
Adjuster mechanism functioning
-
For electric brakes: magnet arm and wires properly routed
Lubricate Moving Parts
Apply a small amount of high-temperature brake lubricant to:
-
Shoe pivot points
-
Adjuster screw threads
Avoid getting lubricant on the brake shoe linings or the friction surface of the drum.
3. Integrating the Handbrake Cable
Handbrake (parking brake) functionality depends on proper cable routing and tension.
Route the Handbrake Cable
-
Pass the cable through the designated guides.
-
Loop it over the rear-facing brake shoe pulley or lever arm.
-
Attach the cable to the anchor bracket on the backing plate.
Secure the Cable Anchor
-
Tighten the locknut on the anchor post—many kits specify around 200 in.-lbs, but always confirm your manual.
-
Check that the operating lever and pivot arm move freely without binding.
Proper cable installation ensures smooth engagement and consistent holding force.
4. Drum, Bearings, and Final Brake Adjustment
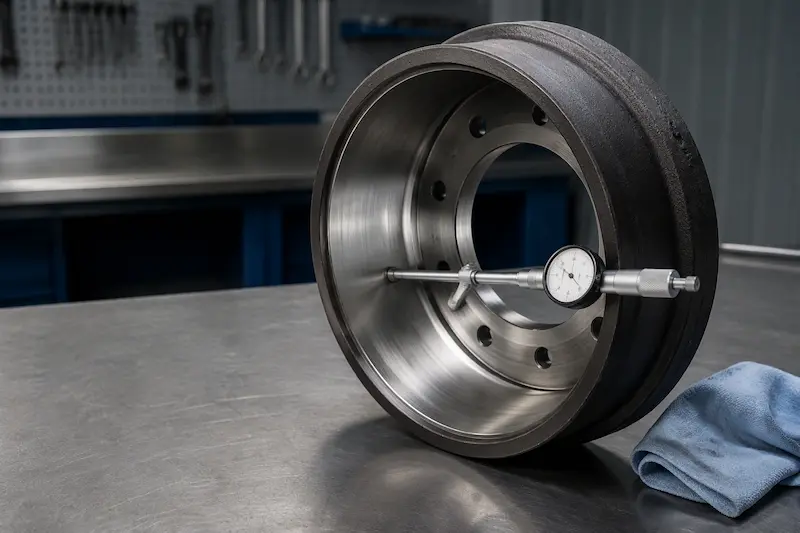
Once the brake assembly and cable are in place, you can reinstall the drum and adjust the brakes.
Install the Brake Drum
-
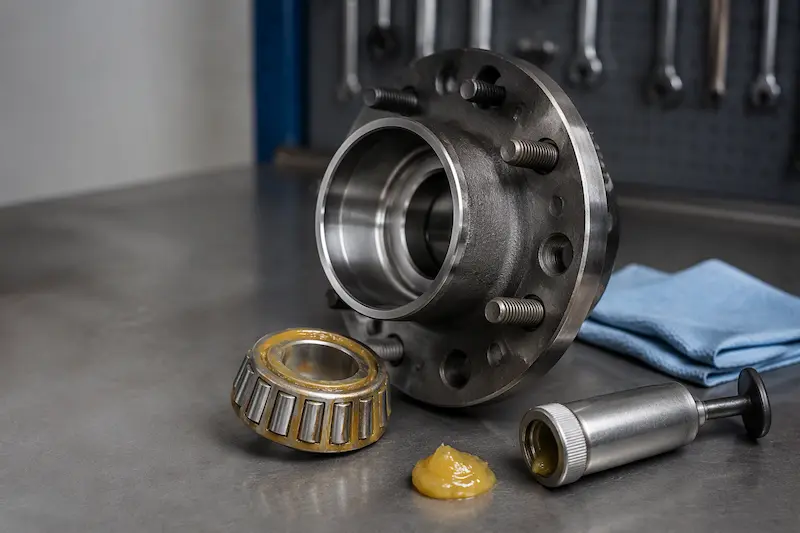
Pack bearings with grease (if not pre-greased) and install them.
-
Slide the drum over the brake shoes carefully to avoid contaminating the brake linings with grease.
Adjust the Brakes
-
Use a brake spoon or flathead screwdriver to turn the star wheel adjuster.
-
Tighten until the brake shoes lightly scrape the drum when rotated.
-
Install rubber access hole plugs to keep dust and water out.
This initial adjustment helps ensure even wear and optimal braking performance.
5. Reassembly and Final Testing
With the brake components in place, you can complete the installation.
Reinstall Wheels
-
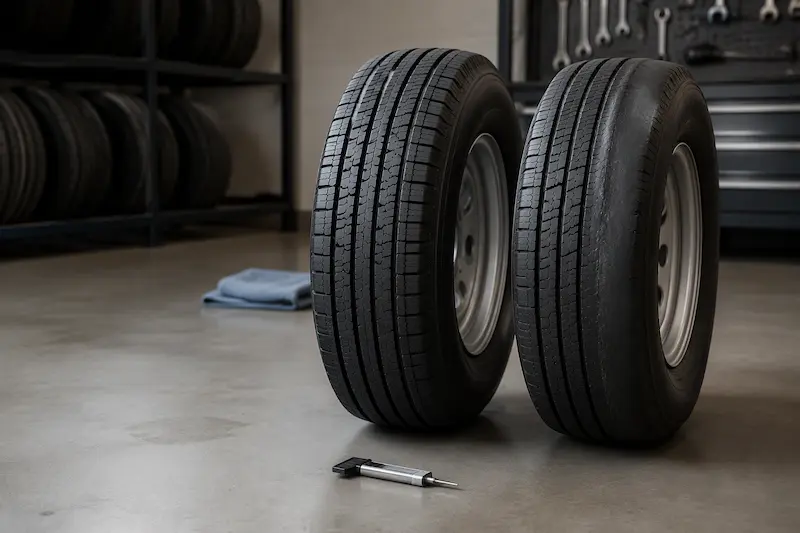
Mount the wheels and torque the lug nuts to the manufacturer’s specifications.
Test the Handbrake
-
Pull the handbrake lever to confirm:
-
Smooth cable movement
-
Shoes engage and release properly
-
Adequate holding power
-
Repeat for All Wheels
If installing brakes on multiple axles, repeat the process for each brake assembly.
Conclusion
Installing a 10-inch brake assembly with a handbrake is a manageable project for DIY trailer owners when approached methodically. By following the steps above—preparing the trailer, installing the backing plate, integrating the cable system, adjusting the brakes, and performing final testing—you can ensure your trailer operates safely and reliably.
Always remember:
-
Follow all torque specifications
-
Keep brake components clean
-
Refer to the manufacturer’s instructions for any kit-specific details
With proper installation and regular maintenance, your new brake system will provide years of dependable service.
10-Inch Brake Assemblies are essential vehicle components for many tasks and industries — commercial or recreational. Weifang Top is an award-winning dealer and a one-stop shop for all your trailer needs.
Our expert team will help you find the right trailer options, and we’ll inspect, customize and deliver it straight to you.
Our vast inventory ensures you can find a trailer that fits your requirements, application and budget. Browse our high-quality trailers or contact us to learn about our products and services.
For more details on installation and specifications, visit our official product page or contact our technical support team for personalized assistance.